|
|
||
|---|---|---|
| .. | ||
| examples/exampleUsage | ||
| images | ||
| src | ||
| CHANGELOG.md | ||
| LICENSE | ||
| README.md | ||
| keywords.txt | ||
| library.properties | ||
README.md
Sensirion I2C SEN5X Arduino Library
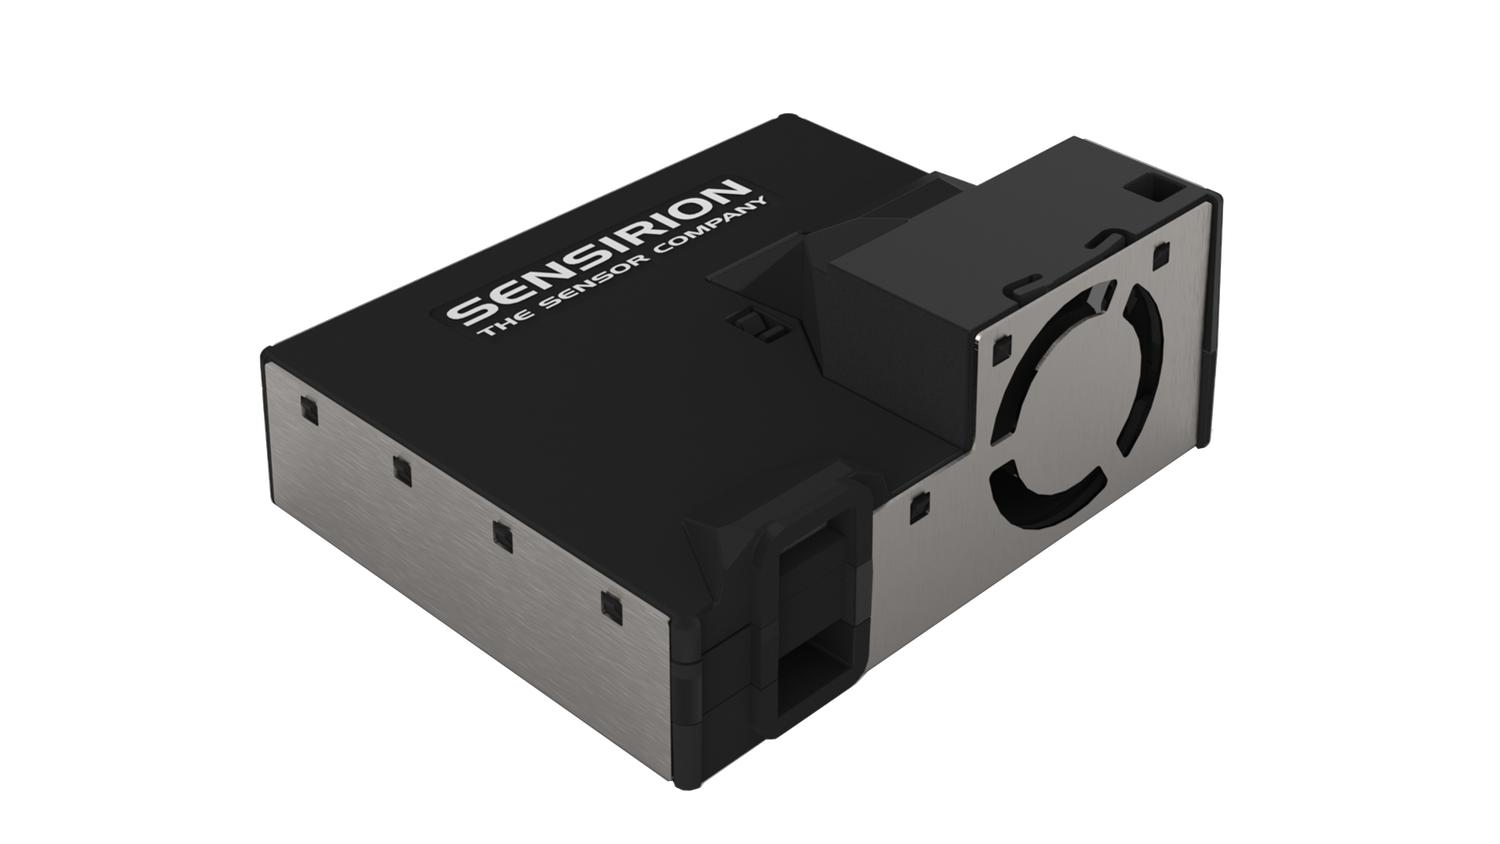
This is the Sensirion SEN5X library for Arduino using the modules I2C interface.

Supported sensors
- SEN50 (only particulate matter signals available)
- SEN54 (no NOx signal available)
- SEN55 (full feature set)
Installation
To install, download the latest release as .zip file and add it to your Arduino IDE via
Sketch => Include Library => Add .ZIP Library...
Don't forget to install the dependencies listed below the same way via Add .ZIP Library
Note: Installation via the Arduino Library Manager is coming soon.
Dependencies
Quick Start
-
Connect the SEN5X Sensor to your Arduino board's standard I2C bus. Check the pinout of your Arduino board to find the correct pins. The pinout of the SEN5X Sensor board can be found in the data sheet.
SEN5X Arduino Jumper Wire VCC 5V Red GND GND Black SDA SDA Green SCL SCL Yellow SEL GND for I2C Blue 
Pin Name Description Comments 1 VCC Supply Voltage 5V ±10% 2 GND Ground 3 SDA I2C: Serial data input / output TTL 5V and LVTTL 3.3V compatible 4 SCL I2C: Serial clock input TTL 5V and LVTTL 3.3V compatible 5 SEL Interface select Pull to GND to select I2C 6 NC Do not connect -
Open the
exampleUsagesample project within the Arduino IDEFile => Examples => Sensirion I2C SEN5X => exampleUsage -
Click the
Uploadbutton in the Arduino IDE orSketch => Upload -
When the upload process has finished, open the
Serial MonitororSerial Plottervia theToolsmenu to observe the measurement values. Note that theBaud Ratein the corresponding window has to be set to115200 baud.
Contributing
Contributions are welcome!
We develop and test this driver using our company internal tools (version control, continuous integration, code review etc.) and automatically synchronize the master branch with GitHub. But this doesn't mean that we don't respond to issues or don't accept pull requests on GitHub. In fact, you're very welcome to open issues or create pull requests :)
This Sensirion library uses
clang-format to standardize the
formatting of all our .cpp and .h files. Make sure your contributions are
formatted accordingly:
The -i flag will apply the format changes to the files listed.
clang-format -i src/*.cpp src/*.h
Note that differences from this formatting will result in a failed build until they are fixed.
License
See LICENSE.