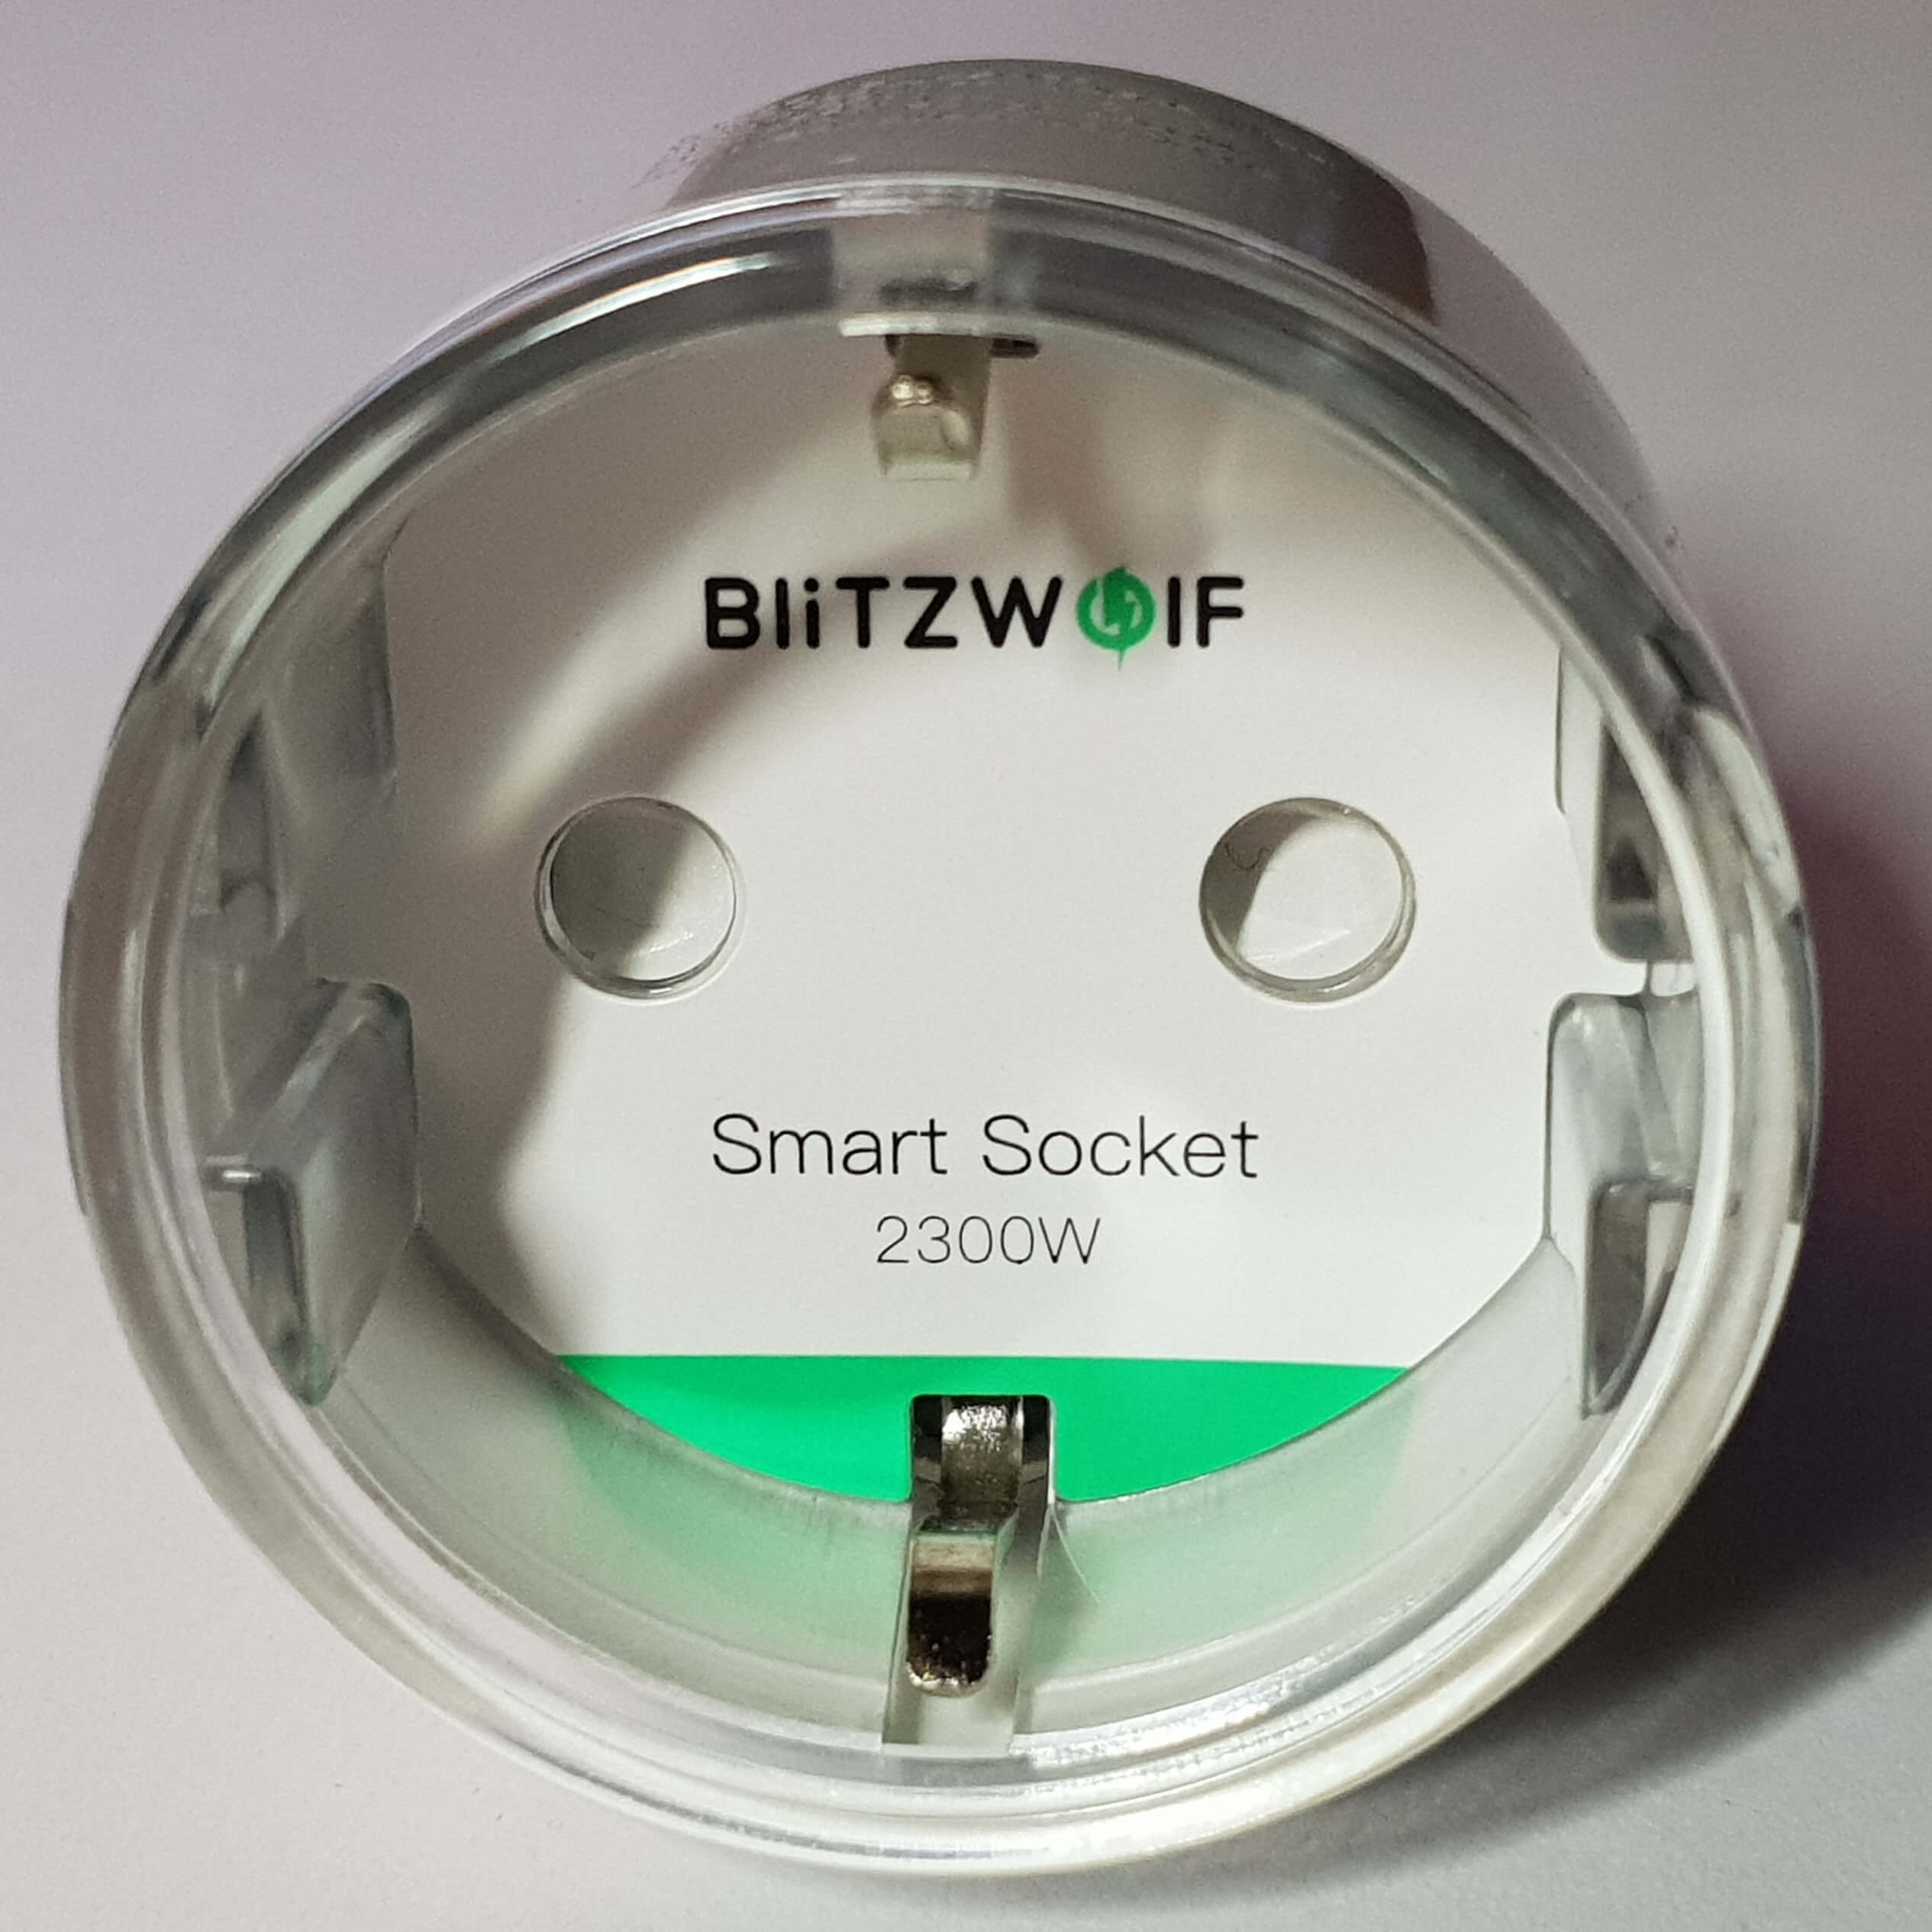
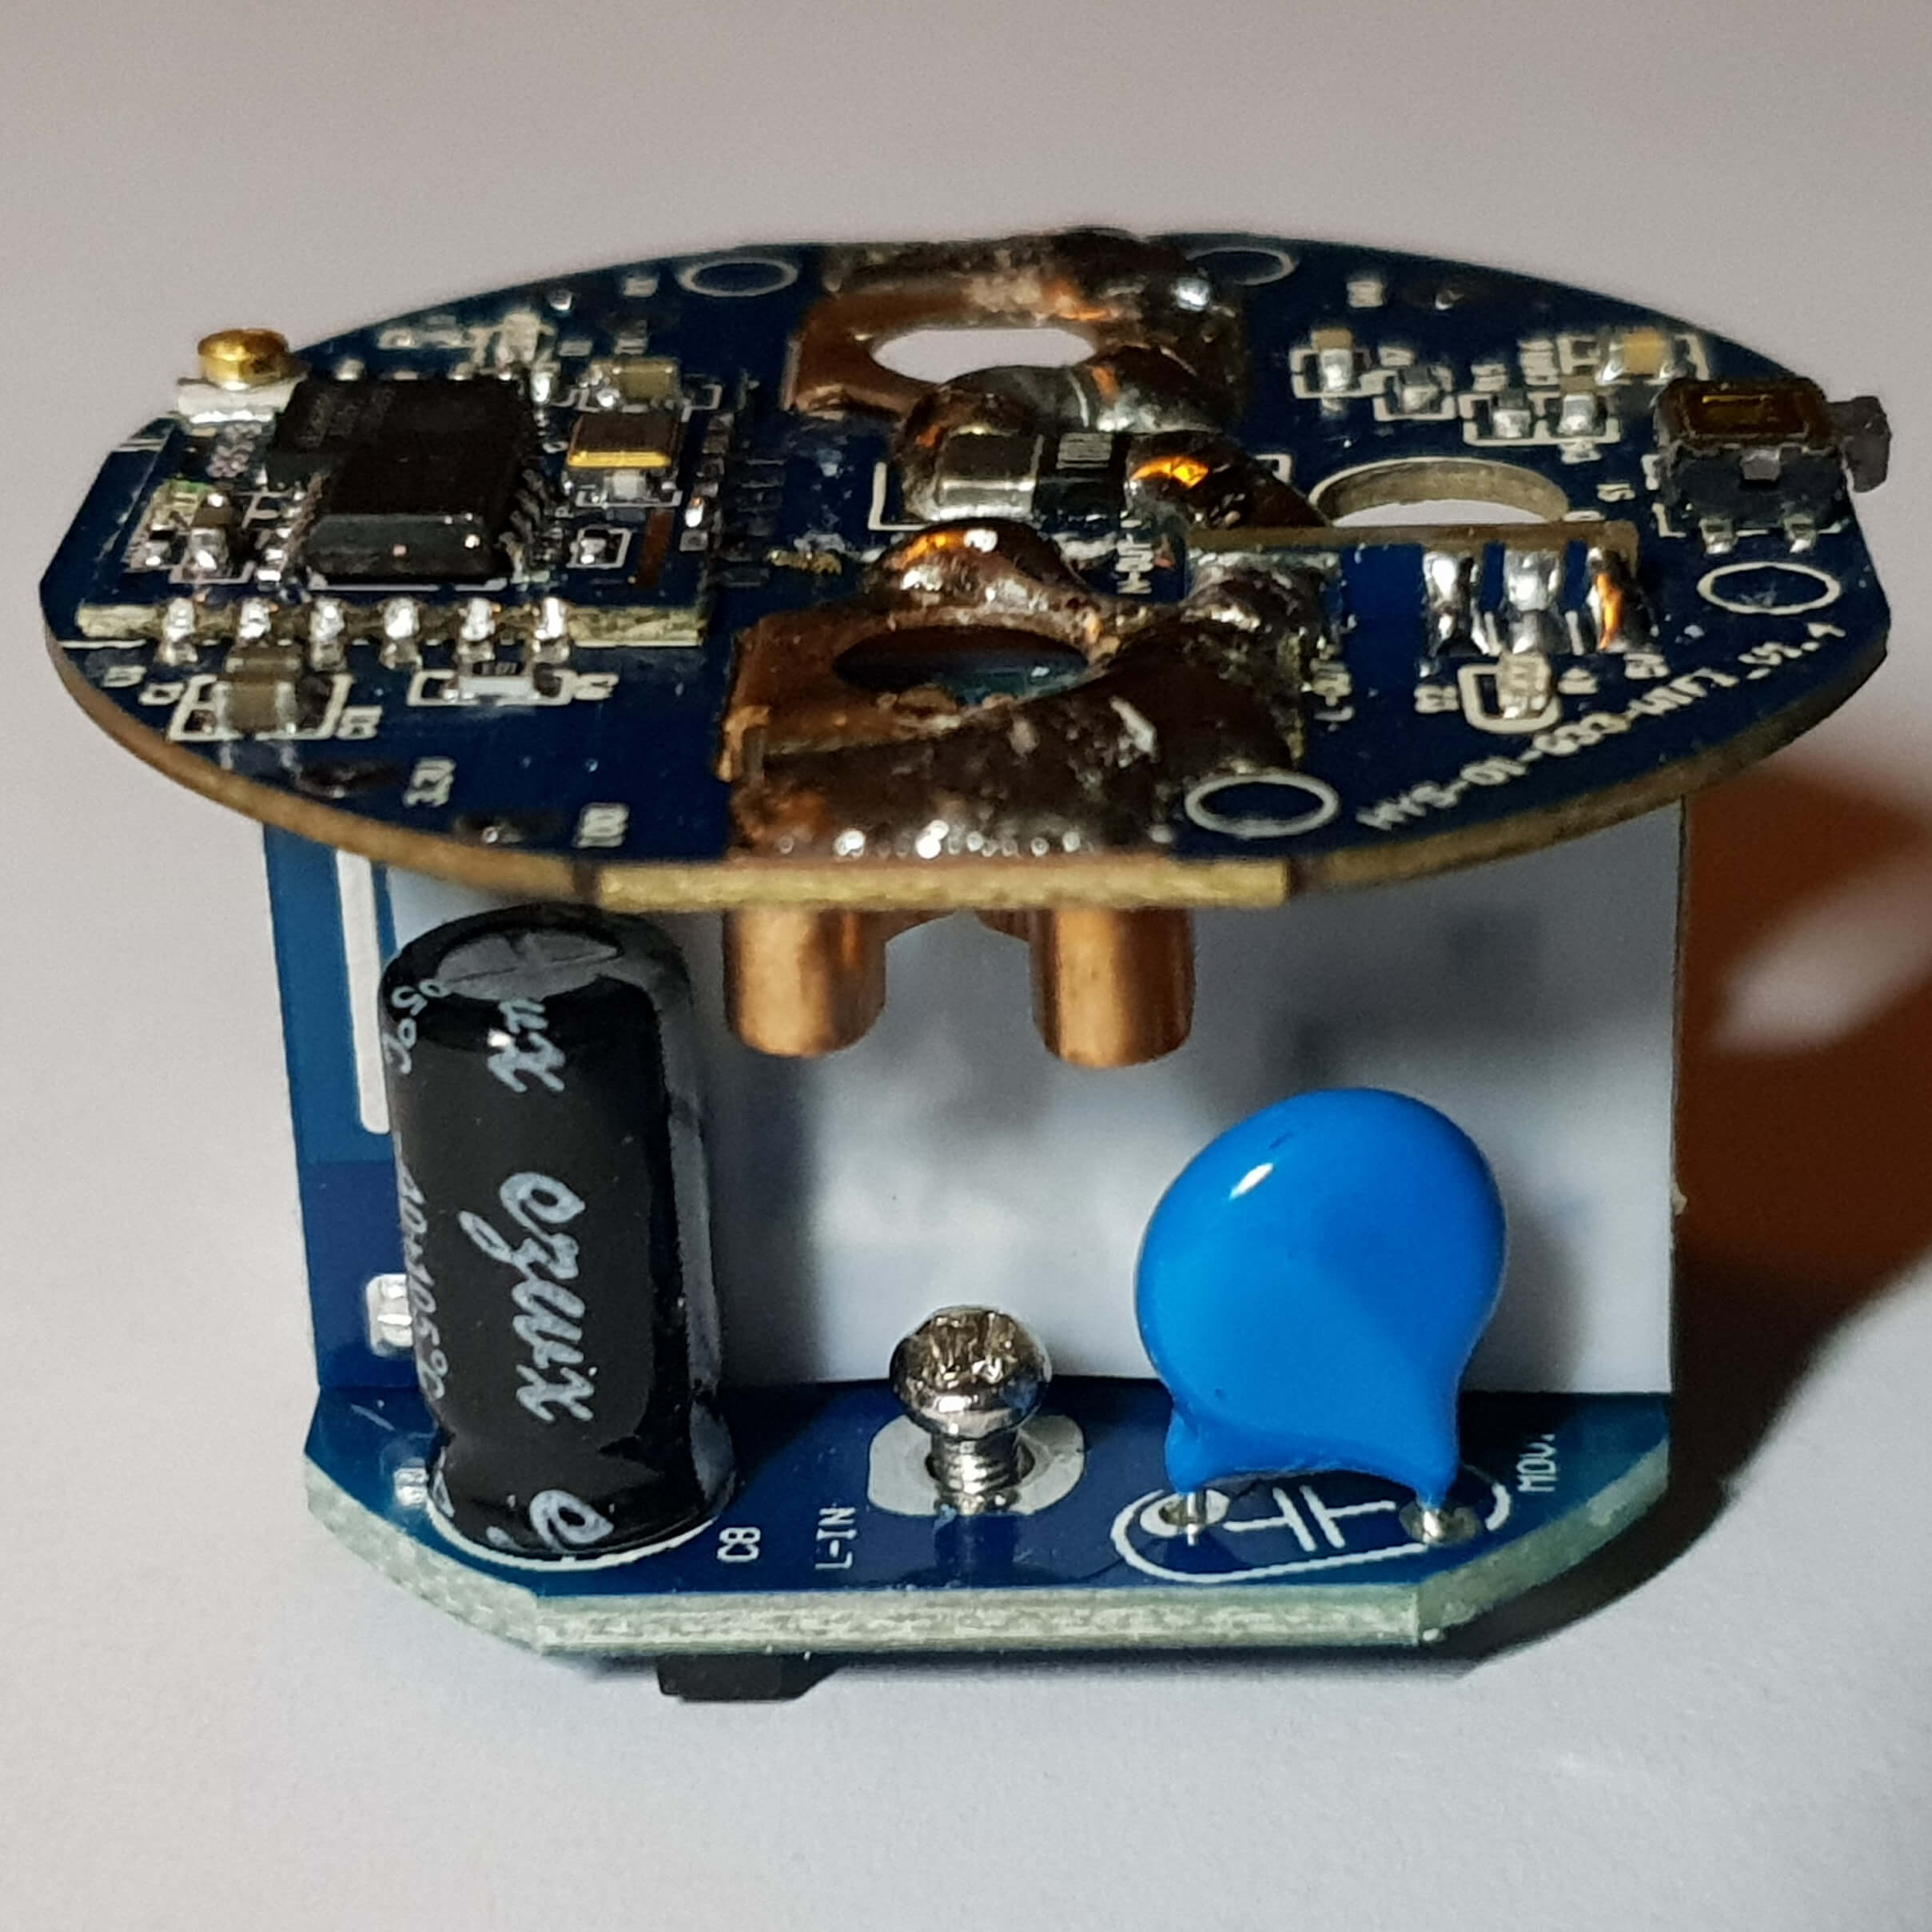
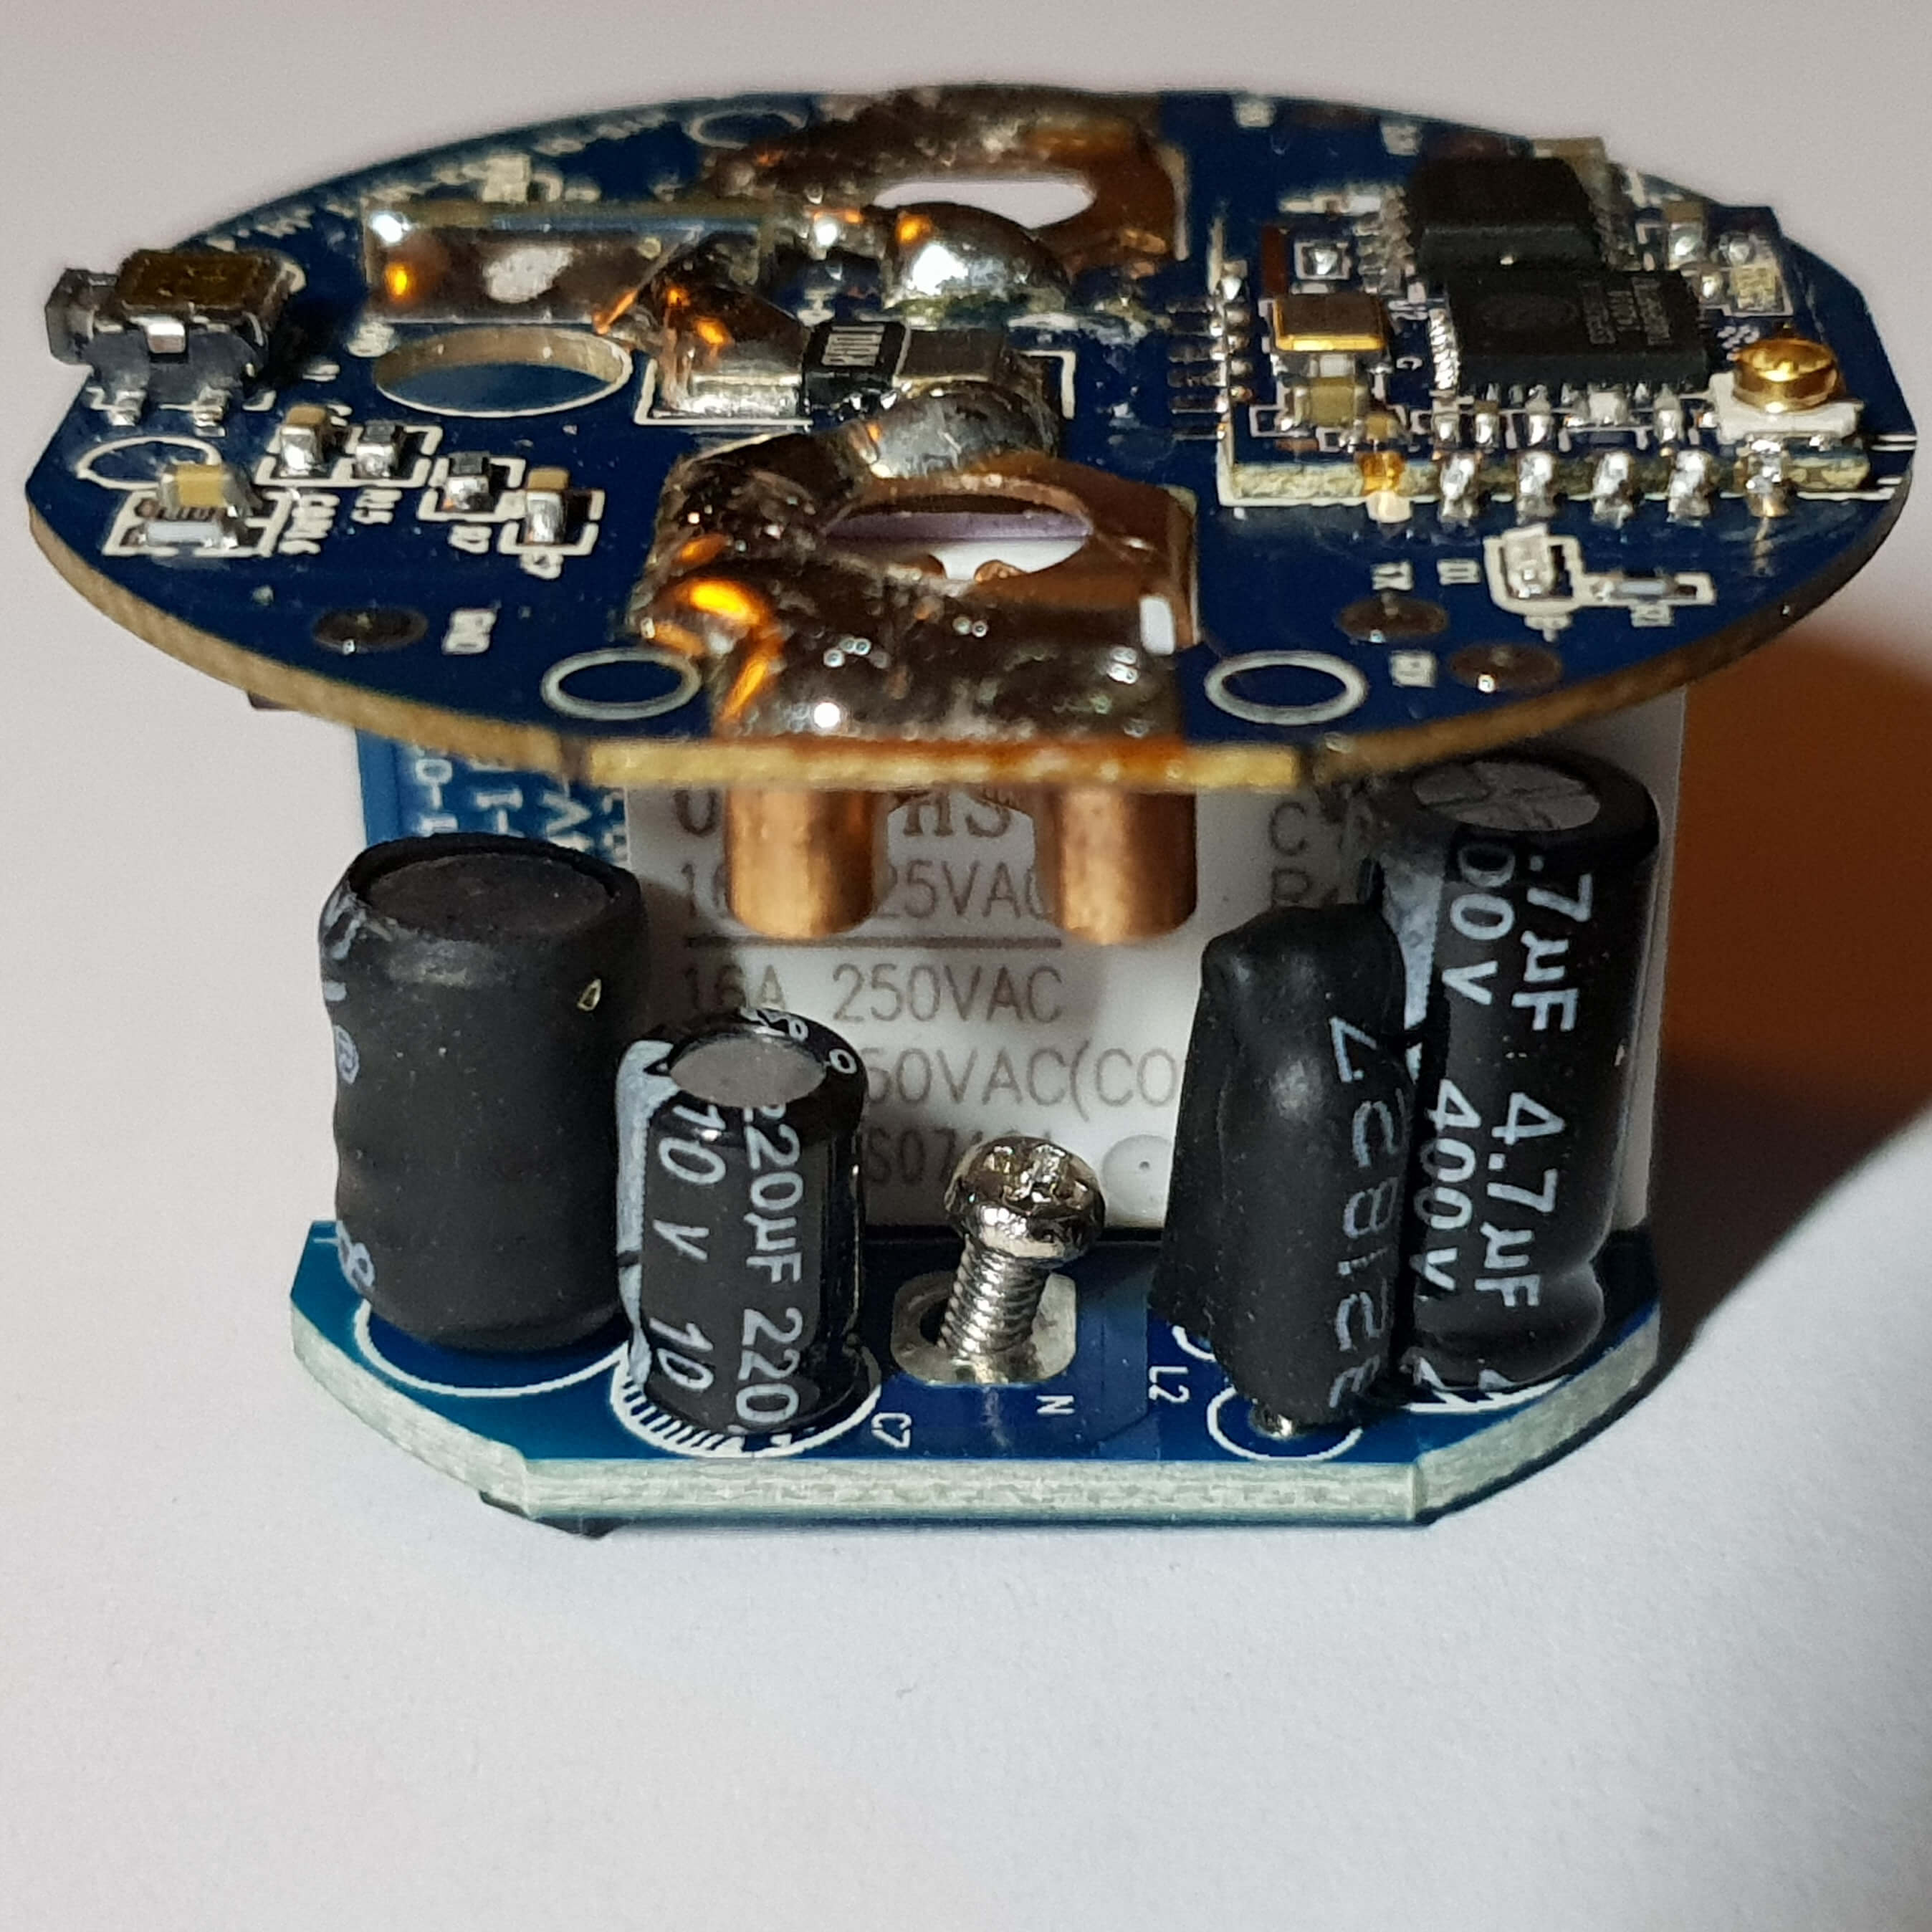
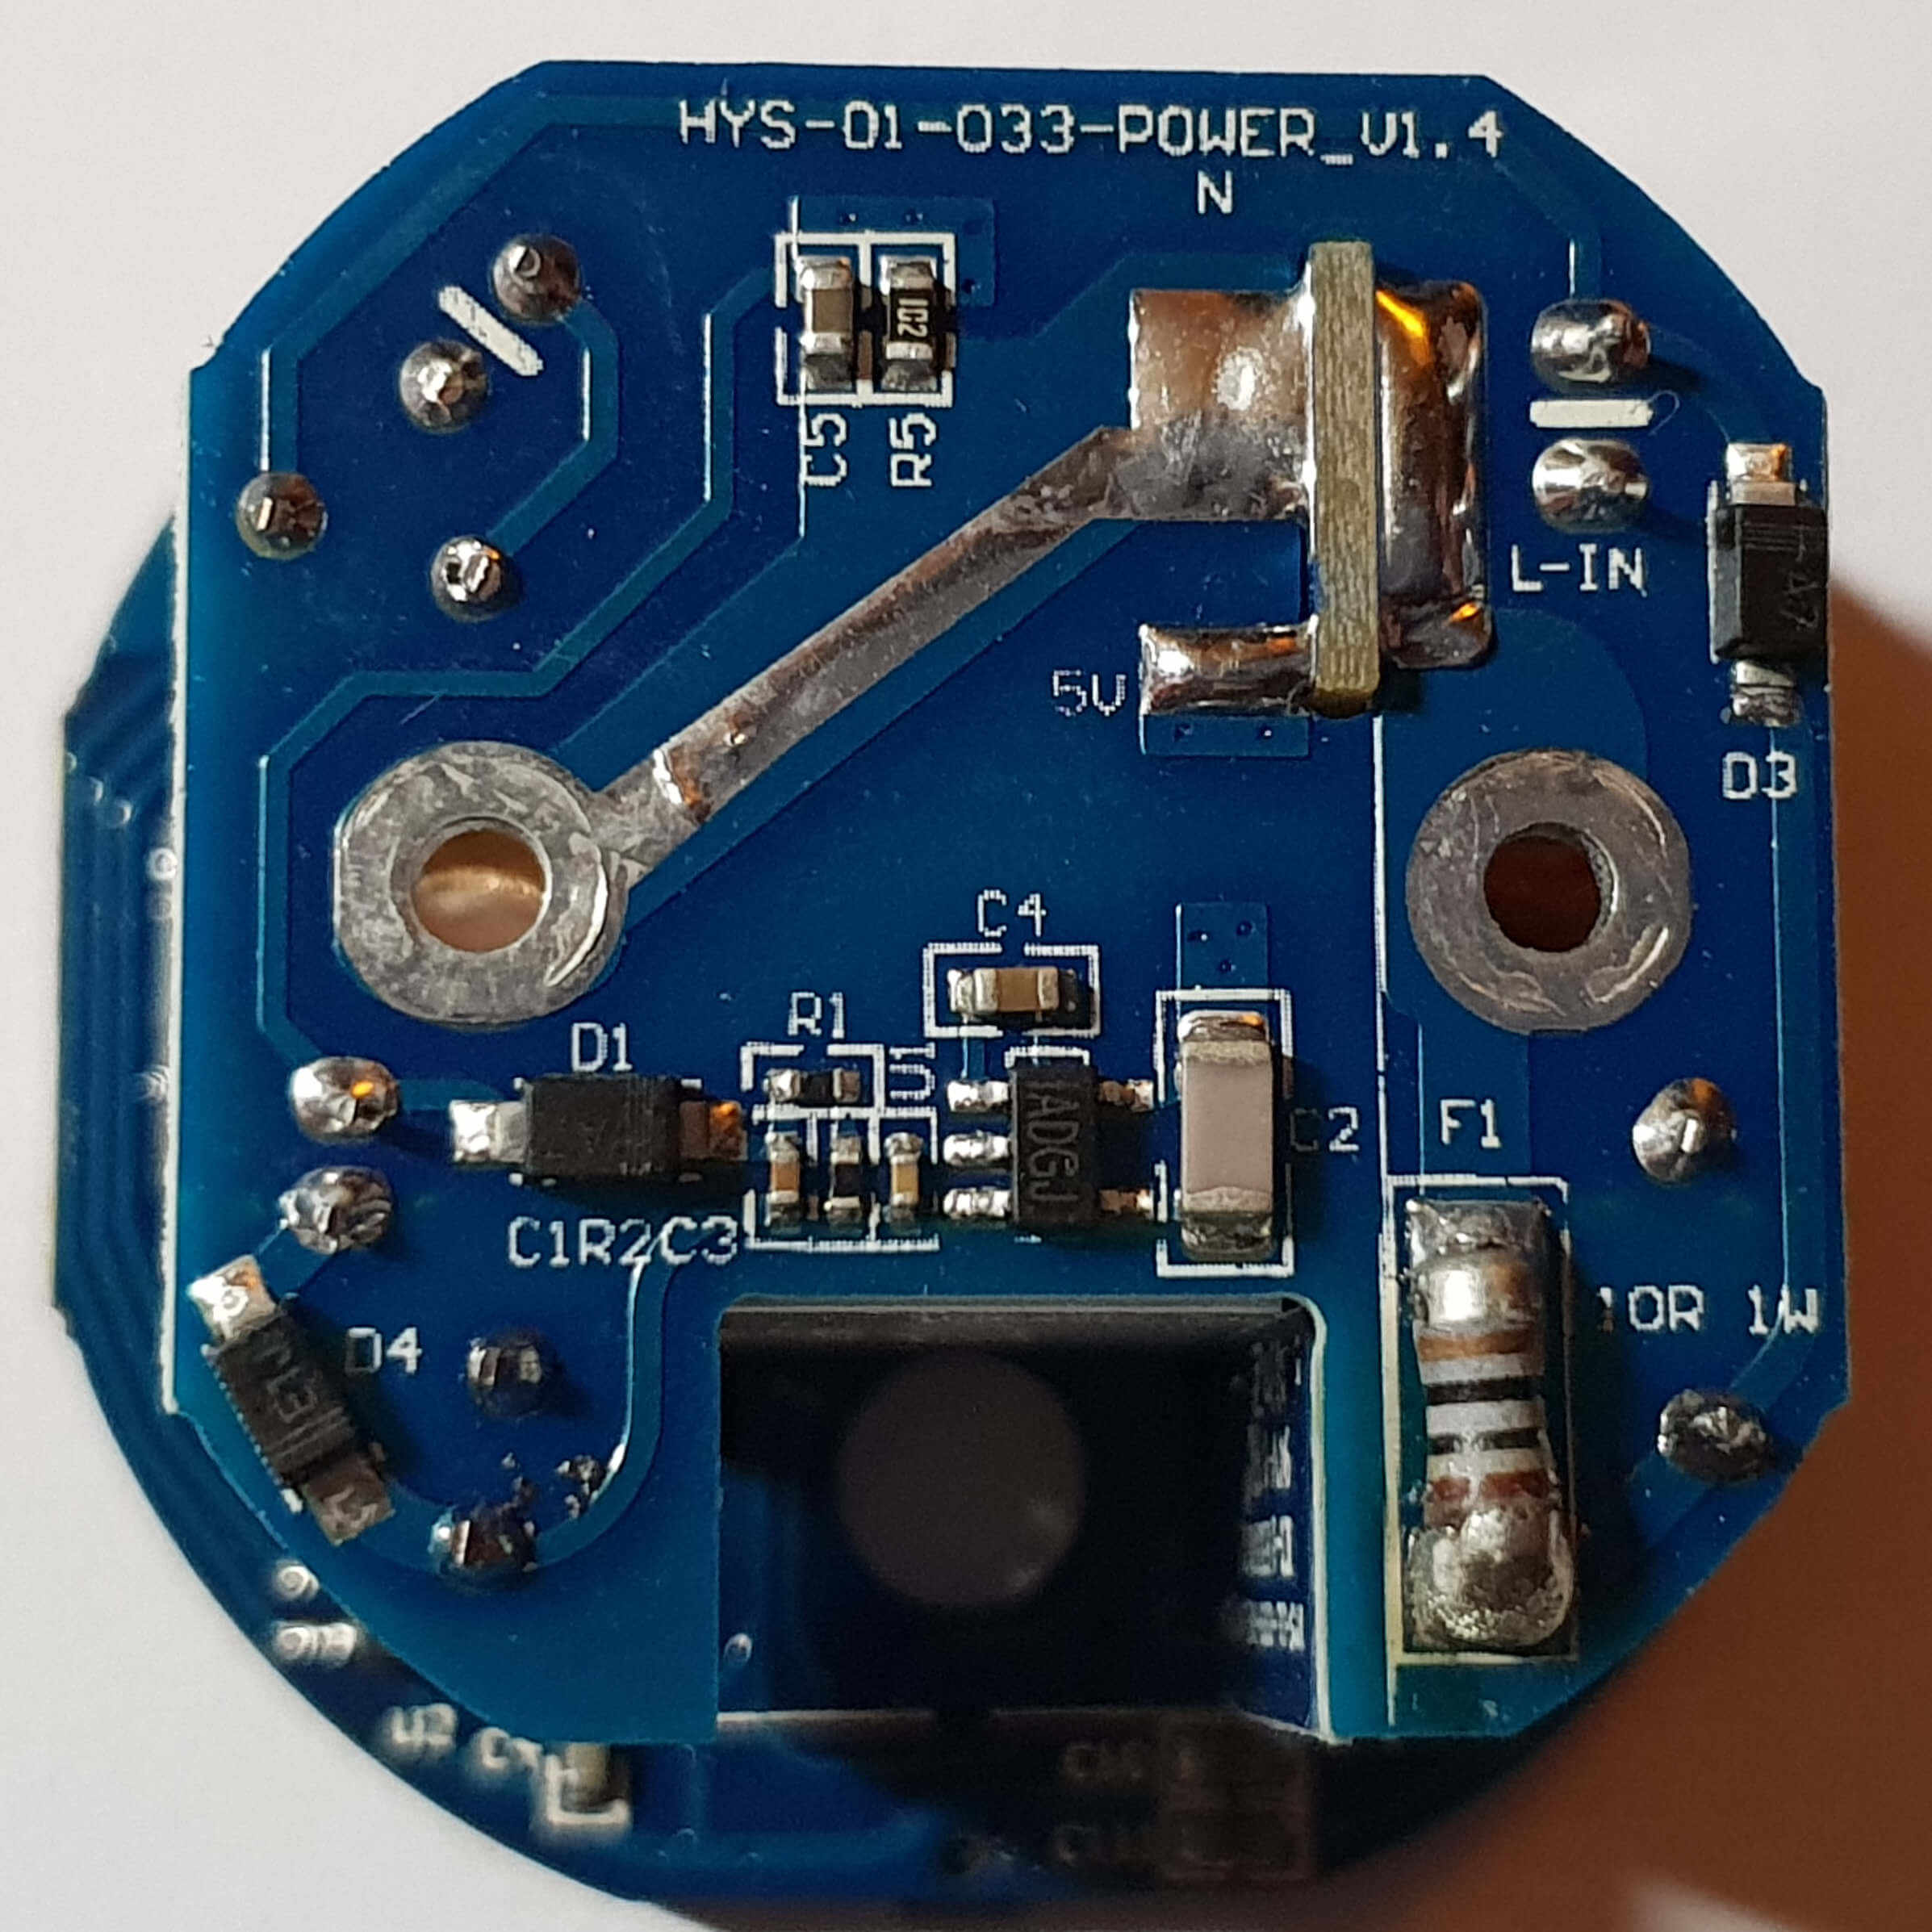
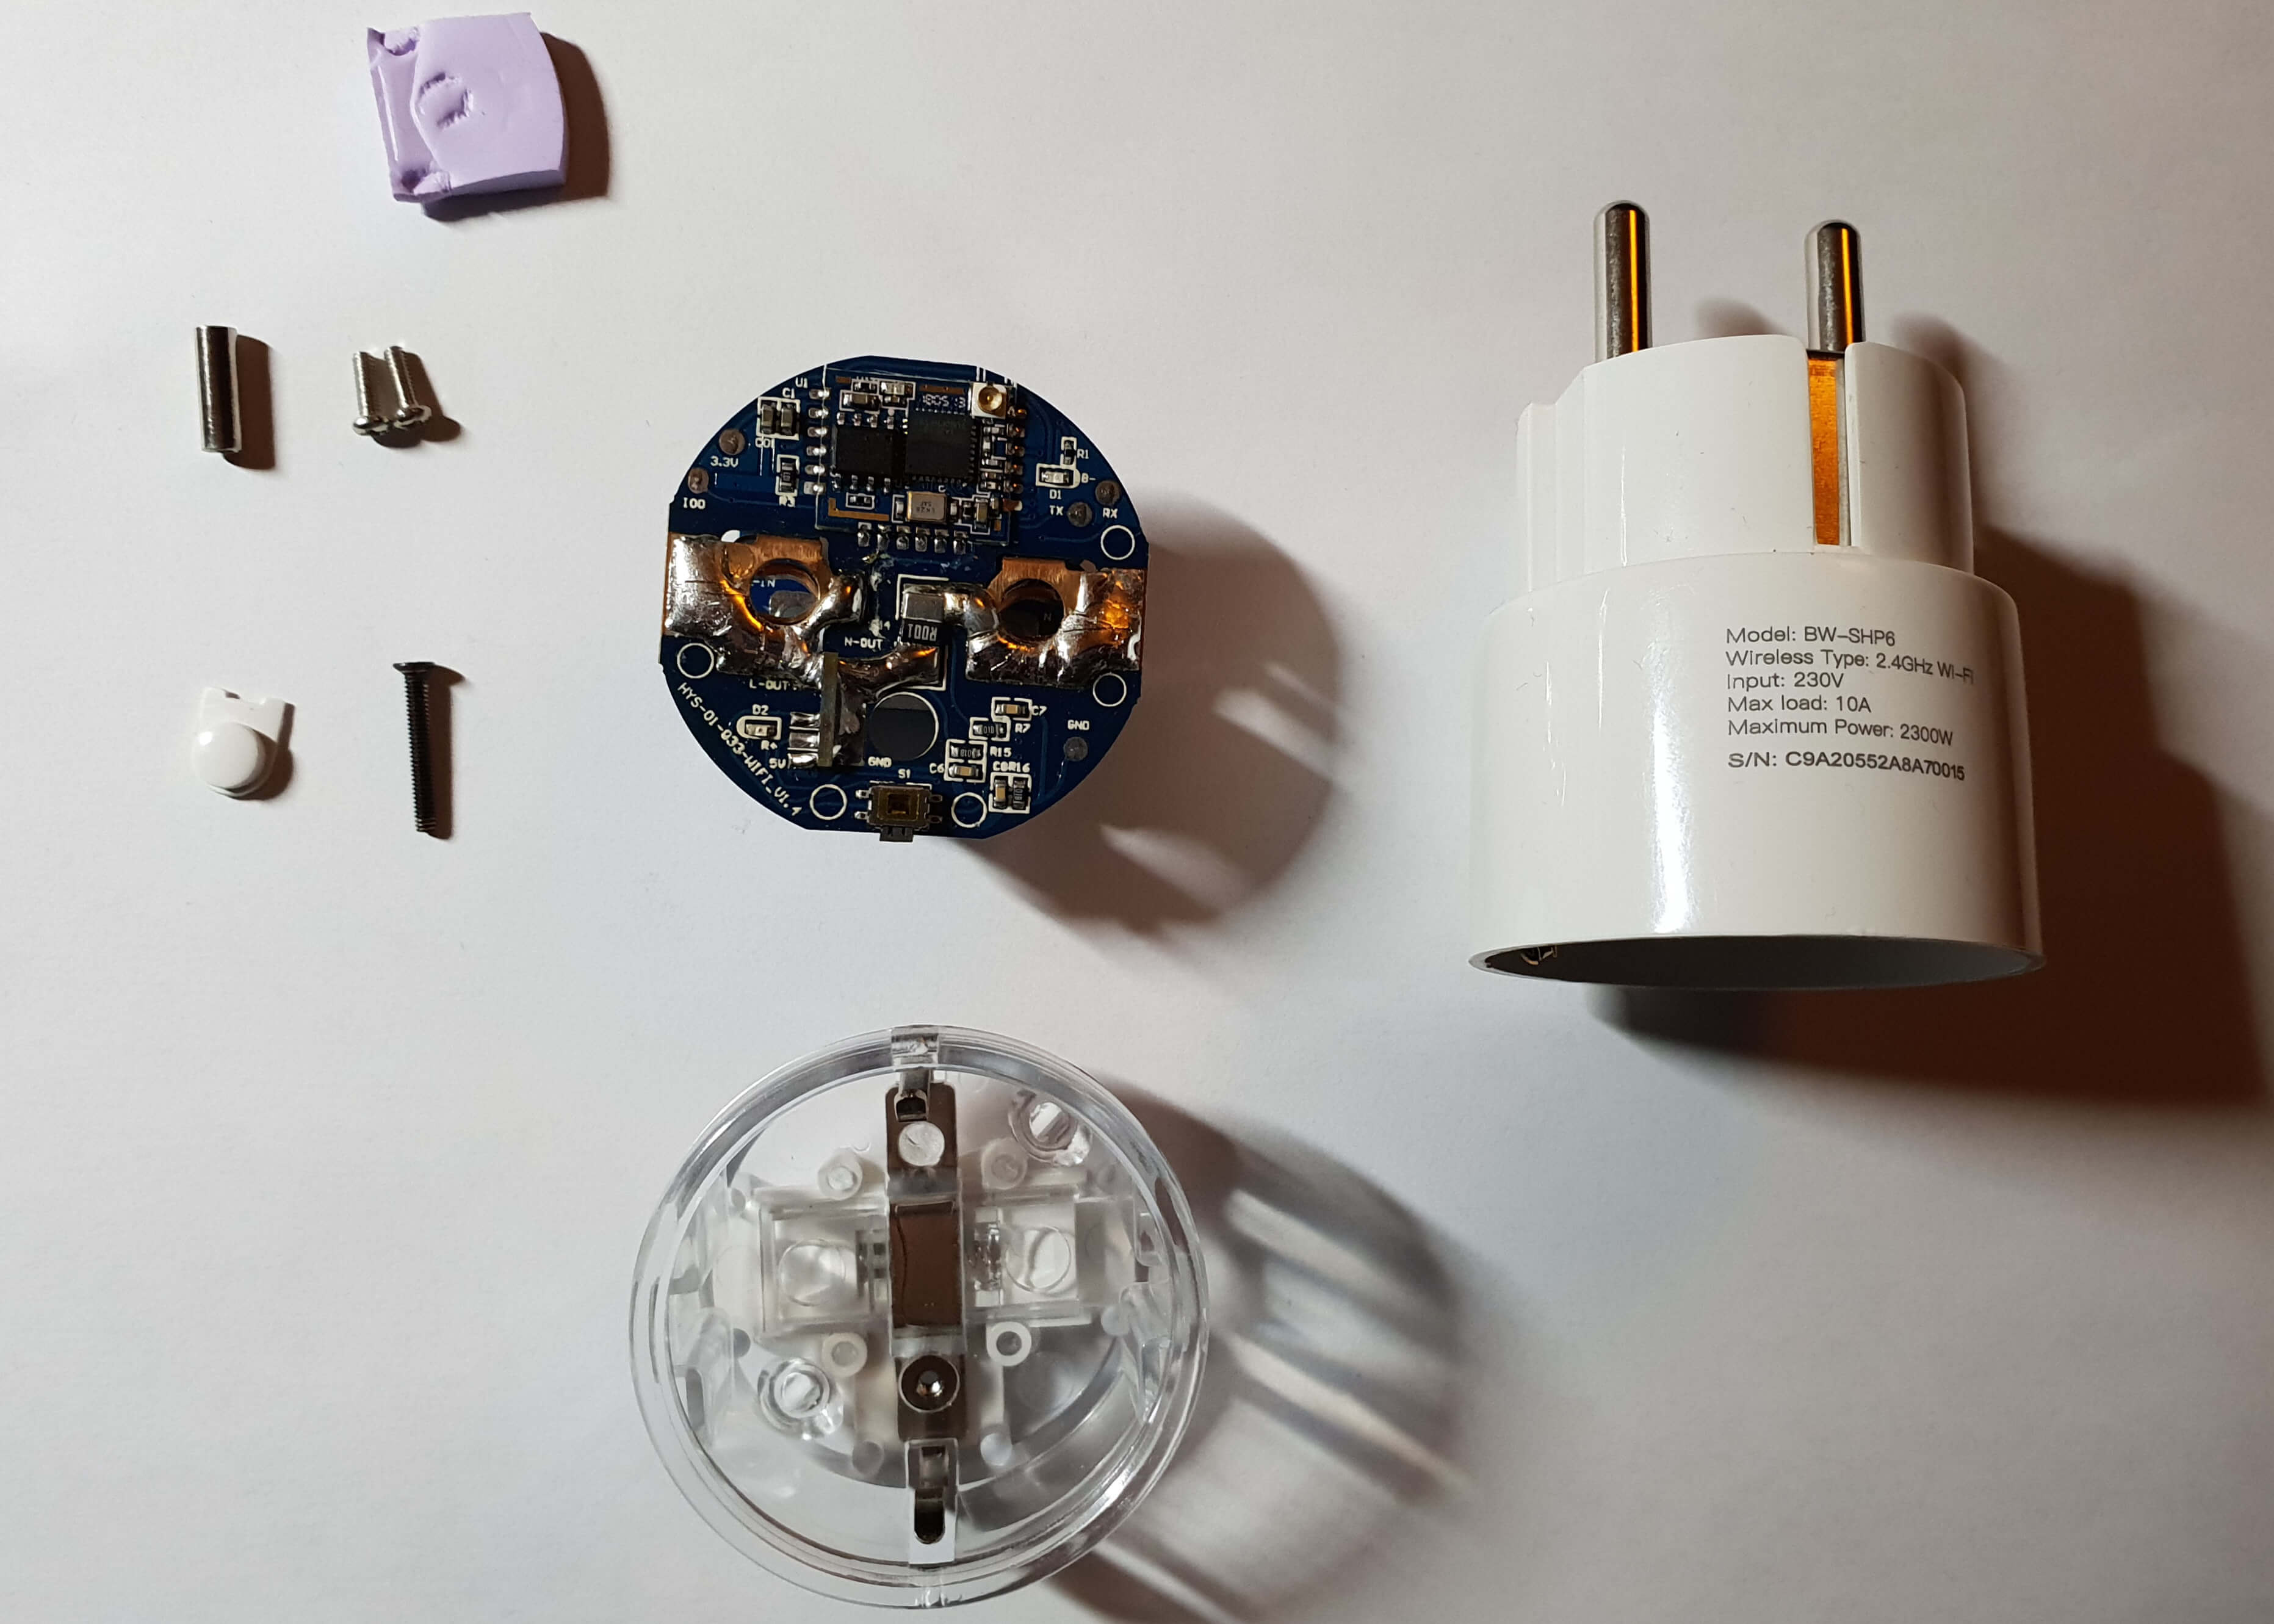
The BlitzWolf BW-SHP6 and the Gosund SP111 are basically the same device, barring the branding.
Product page:
Device needs exact calibration with a load >=60 Watt to gain good results! For further infos see Issue #4727
Serial Connection
Please see the Hardware Preparation page for general instructions.
Step 1
Disconnect device from power source!
Step 2
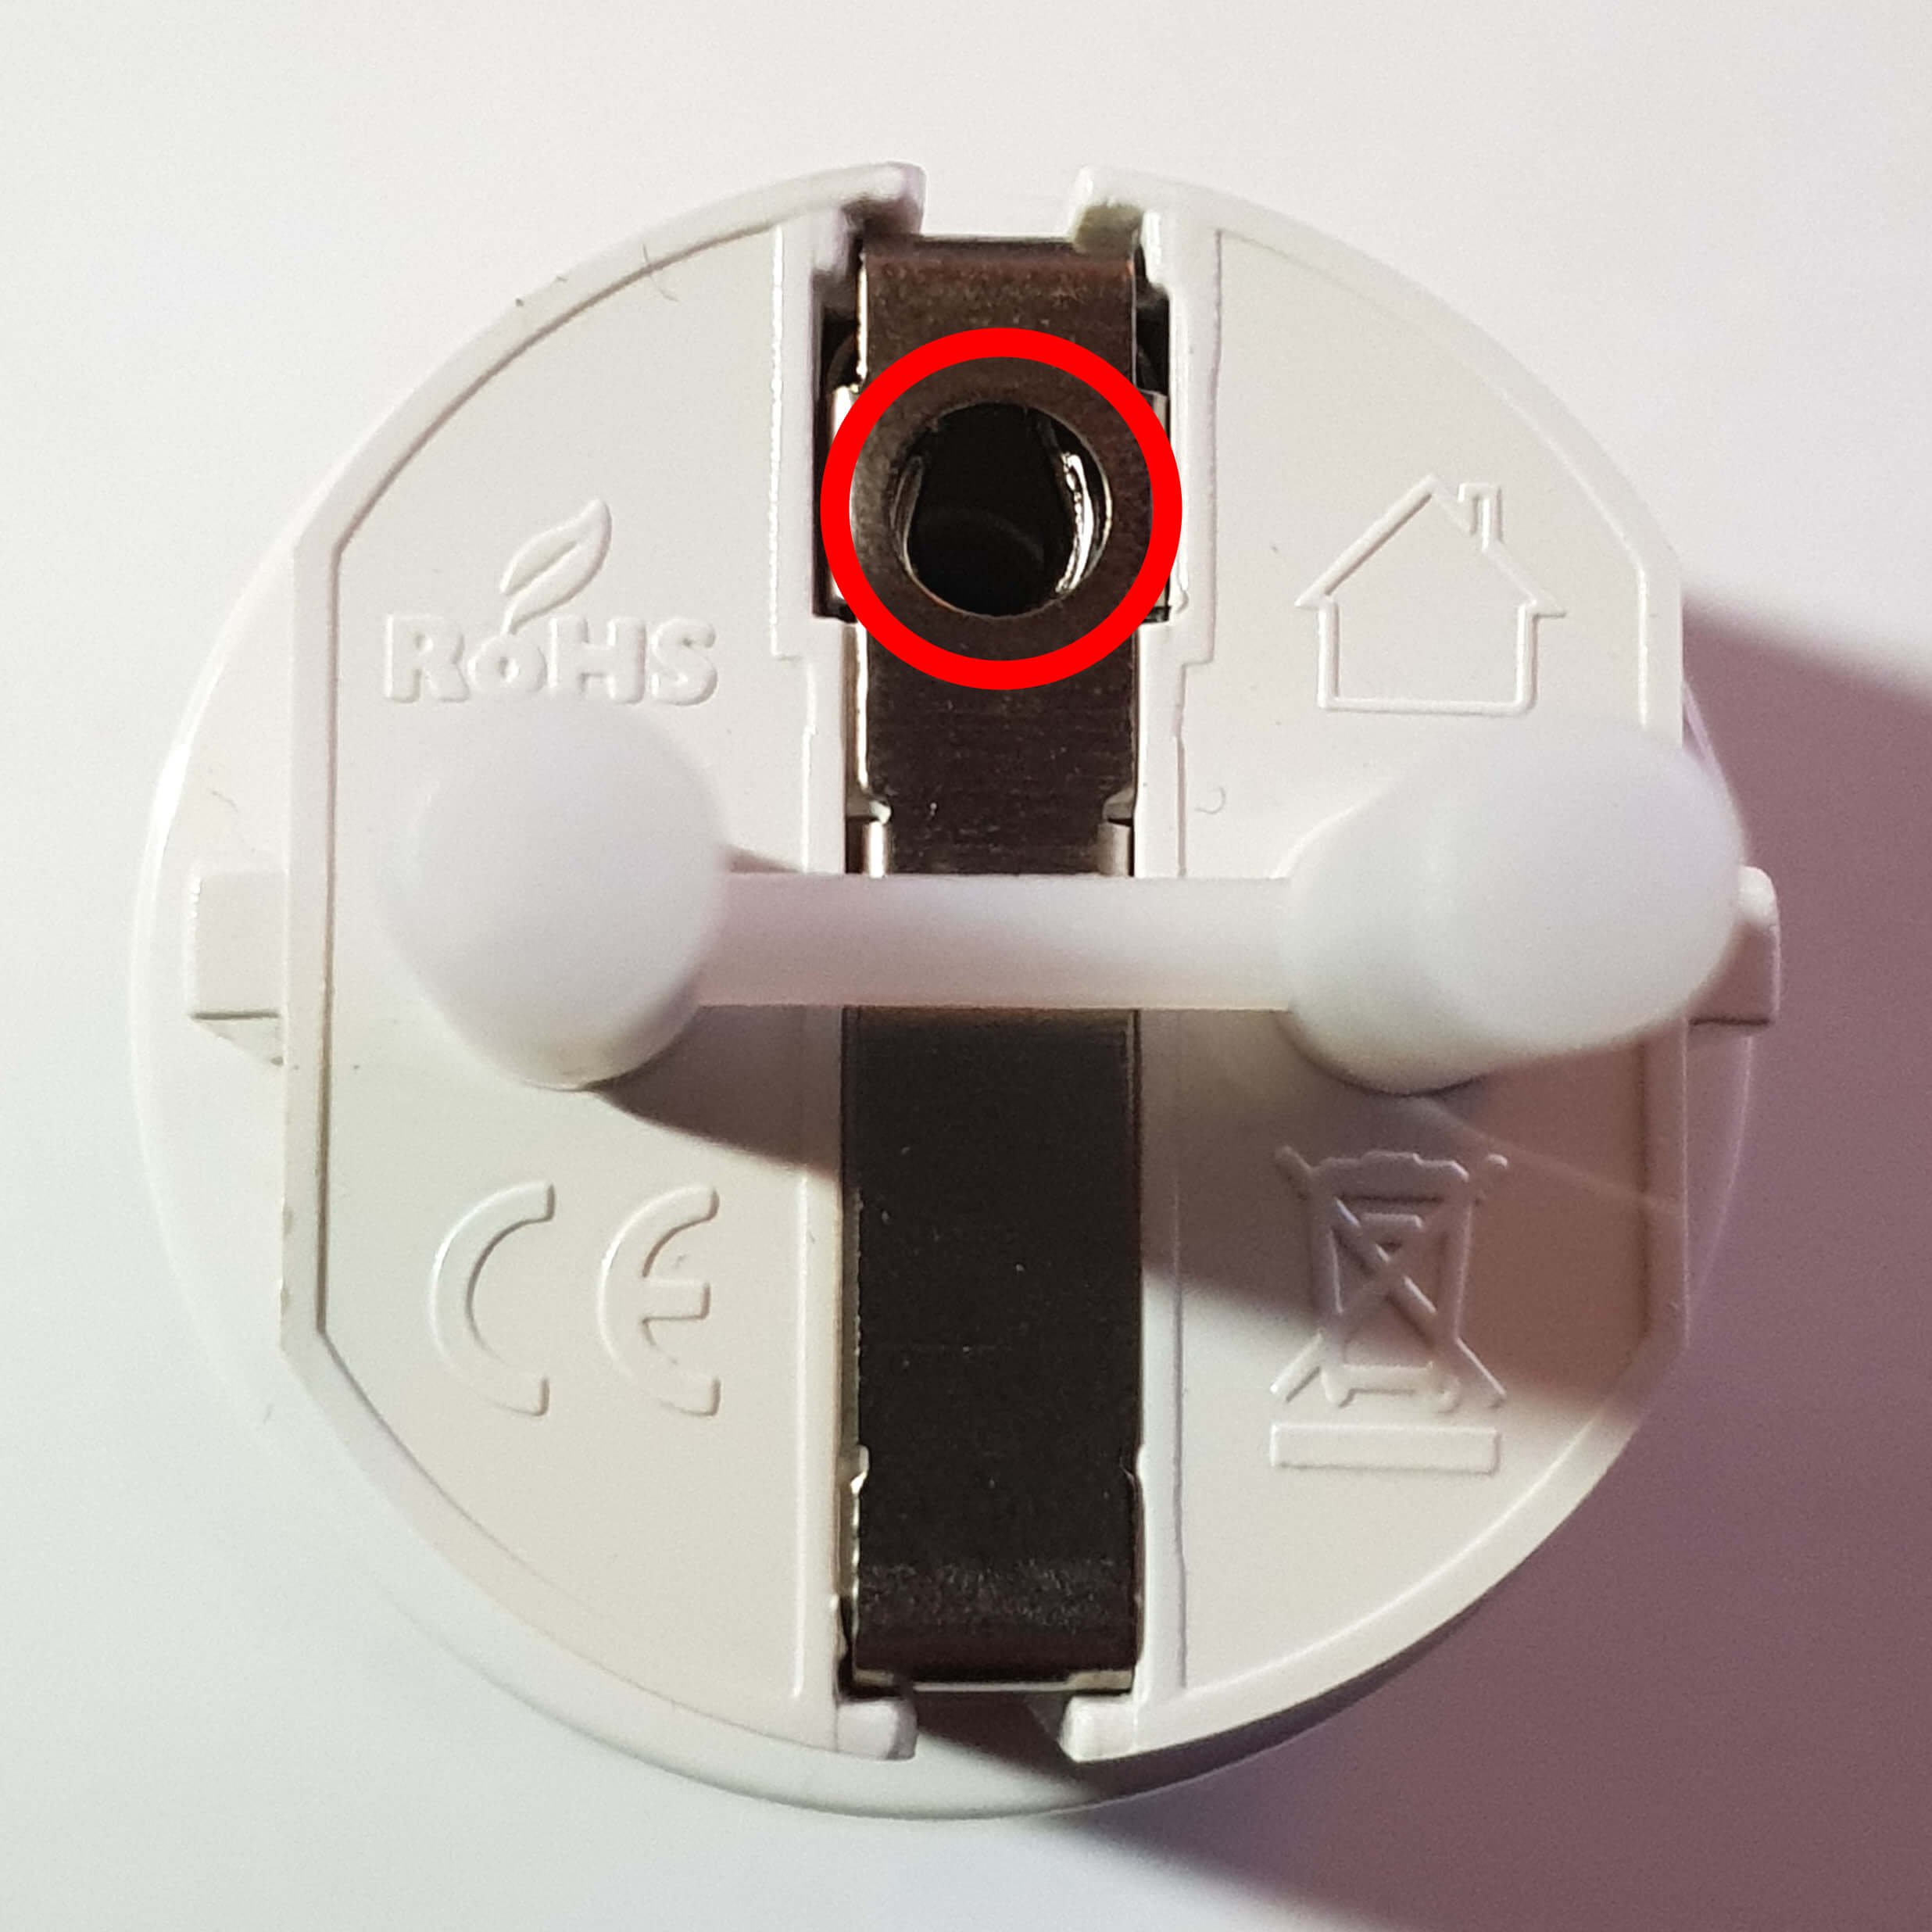
Remove one screw on the back of the device. PH1 screwdriver required.
Step 3
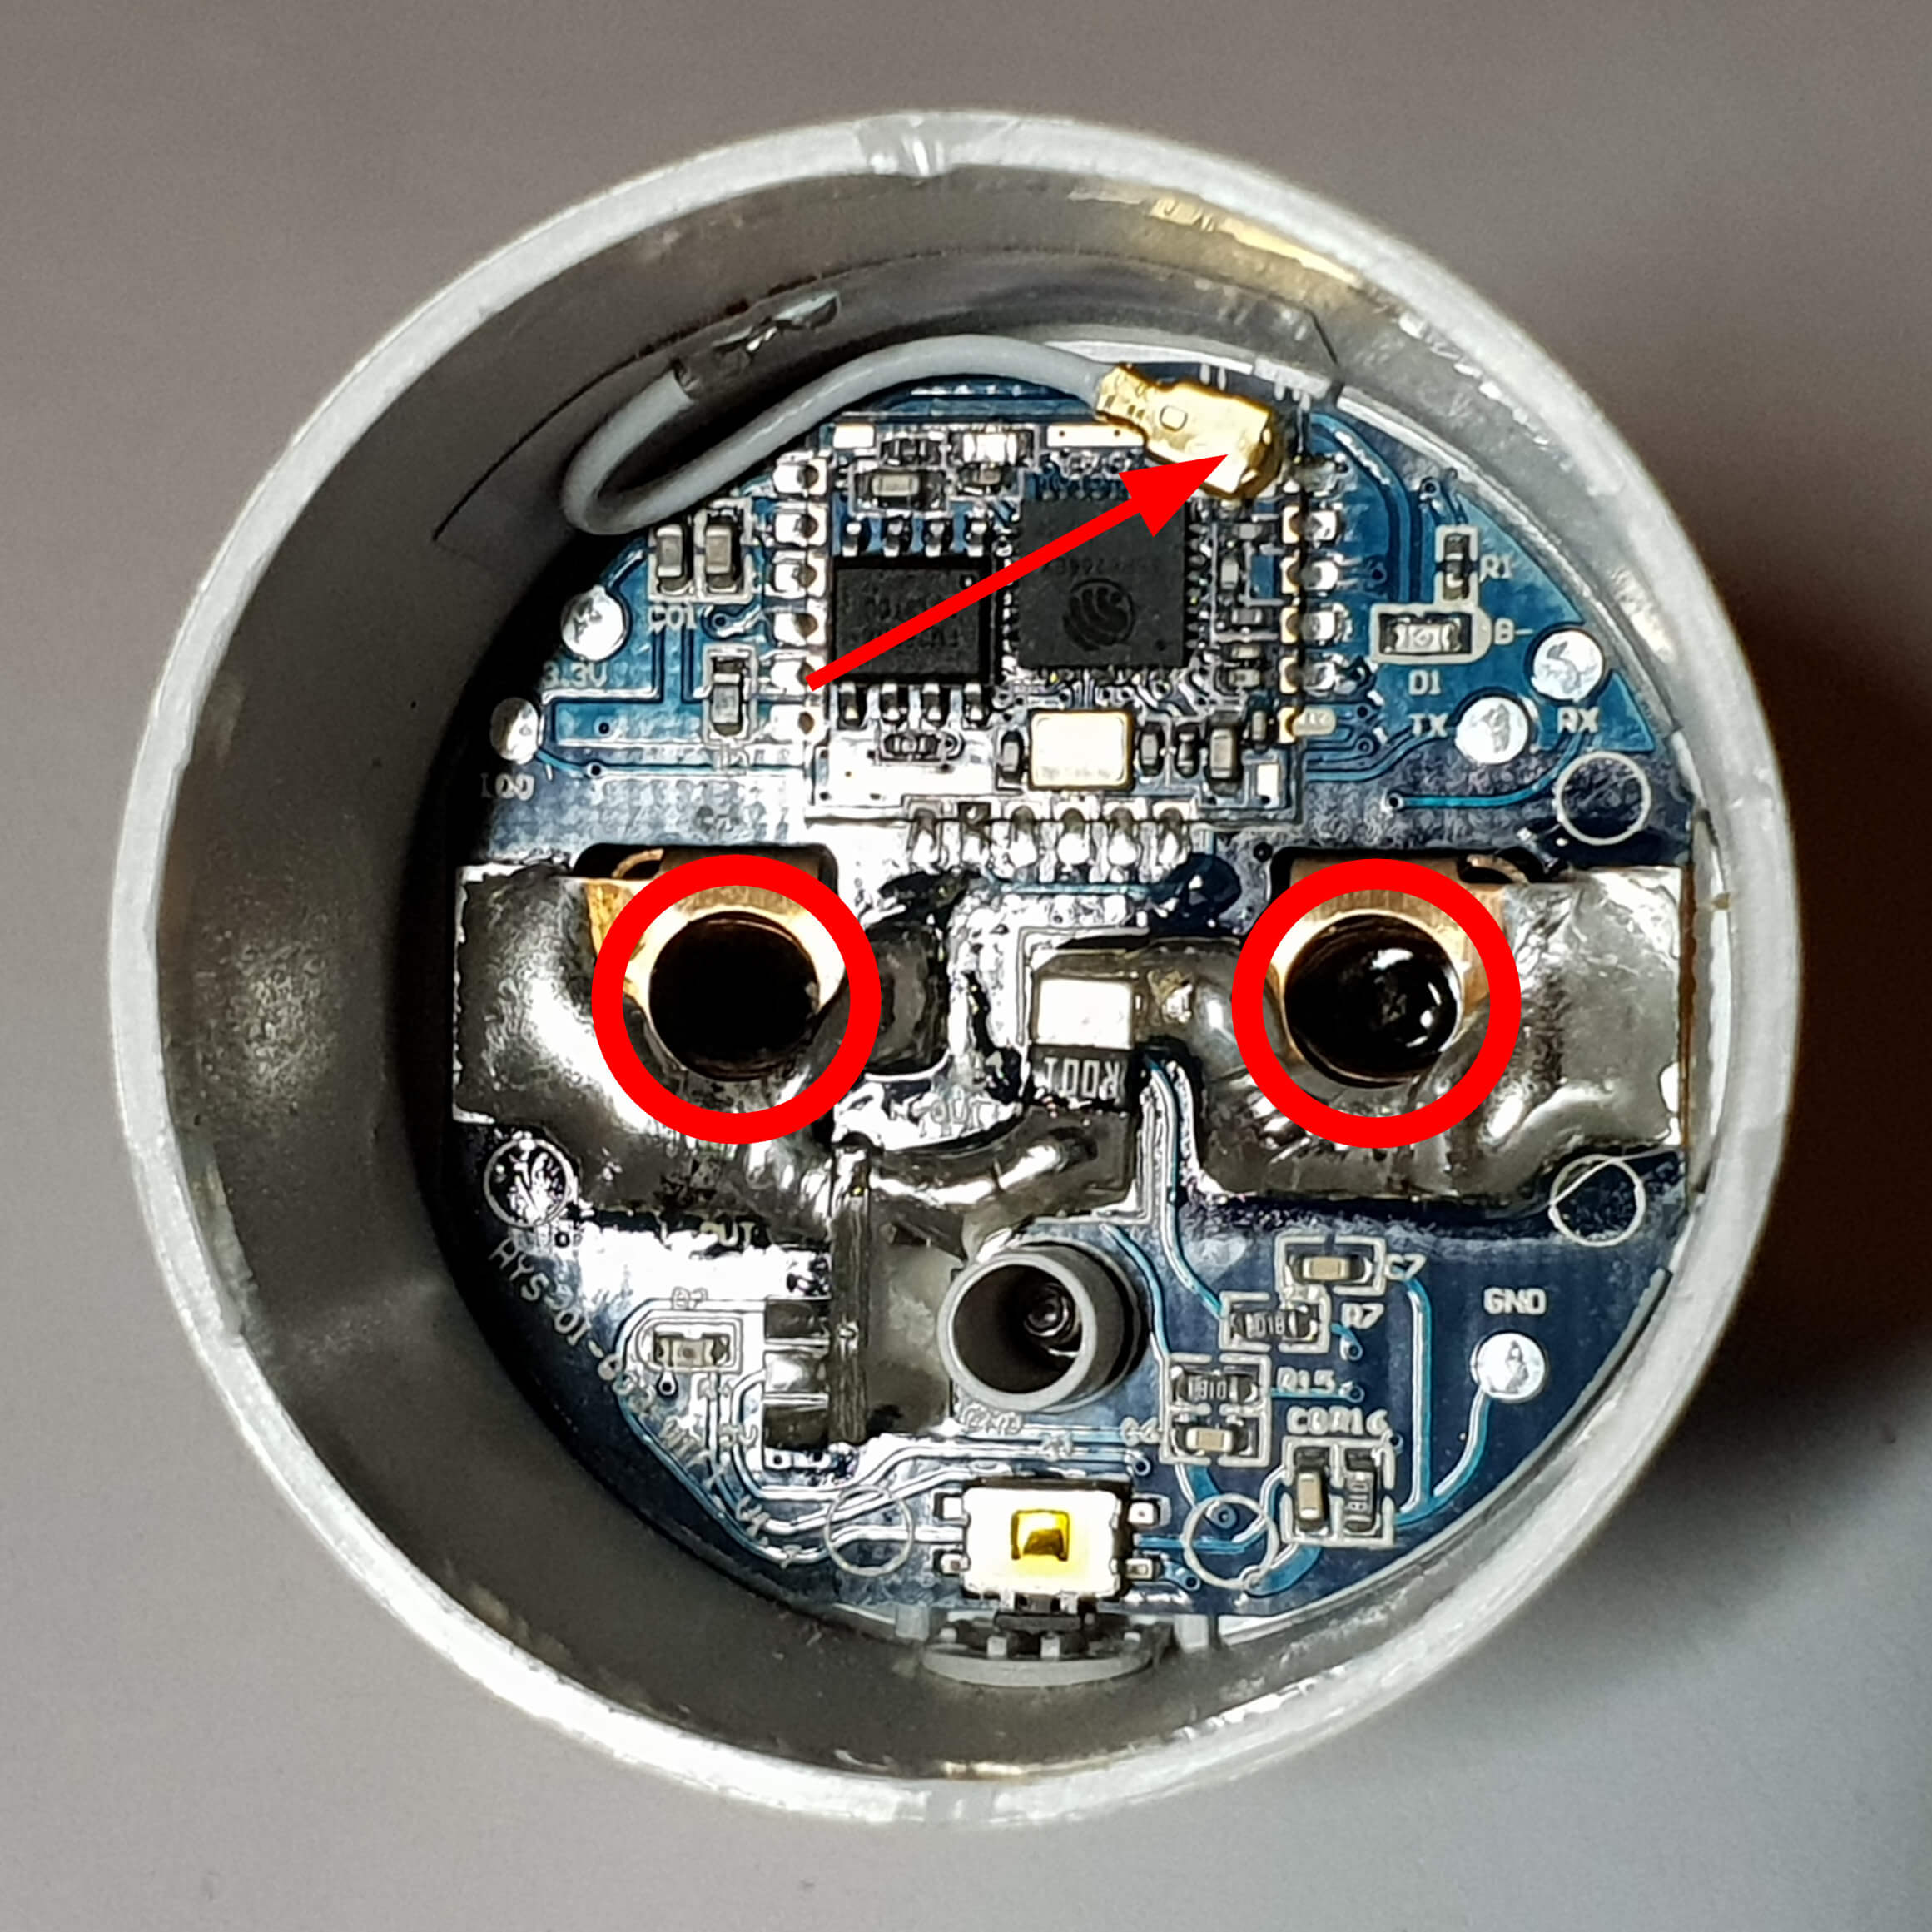
Undo 2 screws. PH1 screwdriver required. Disconnect antenna.
Step 4
Carefully remove PCB from casing for easier soldering.
- Don't stress antenna cable too much.
- Don't lose metal tube.
Step 5
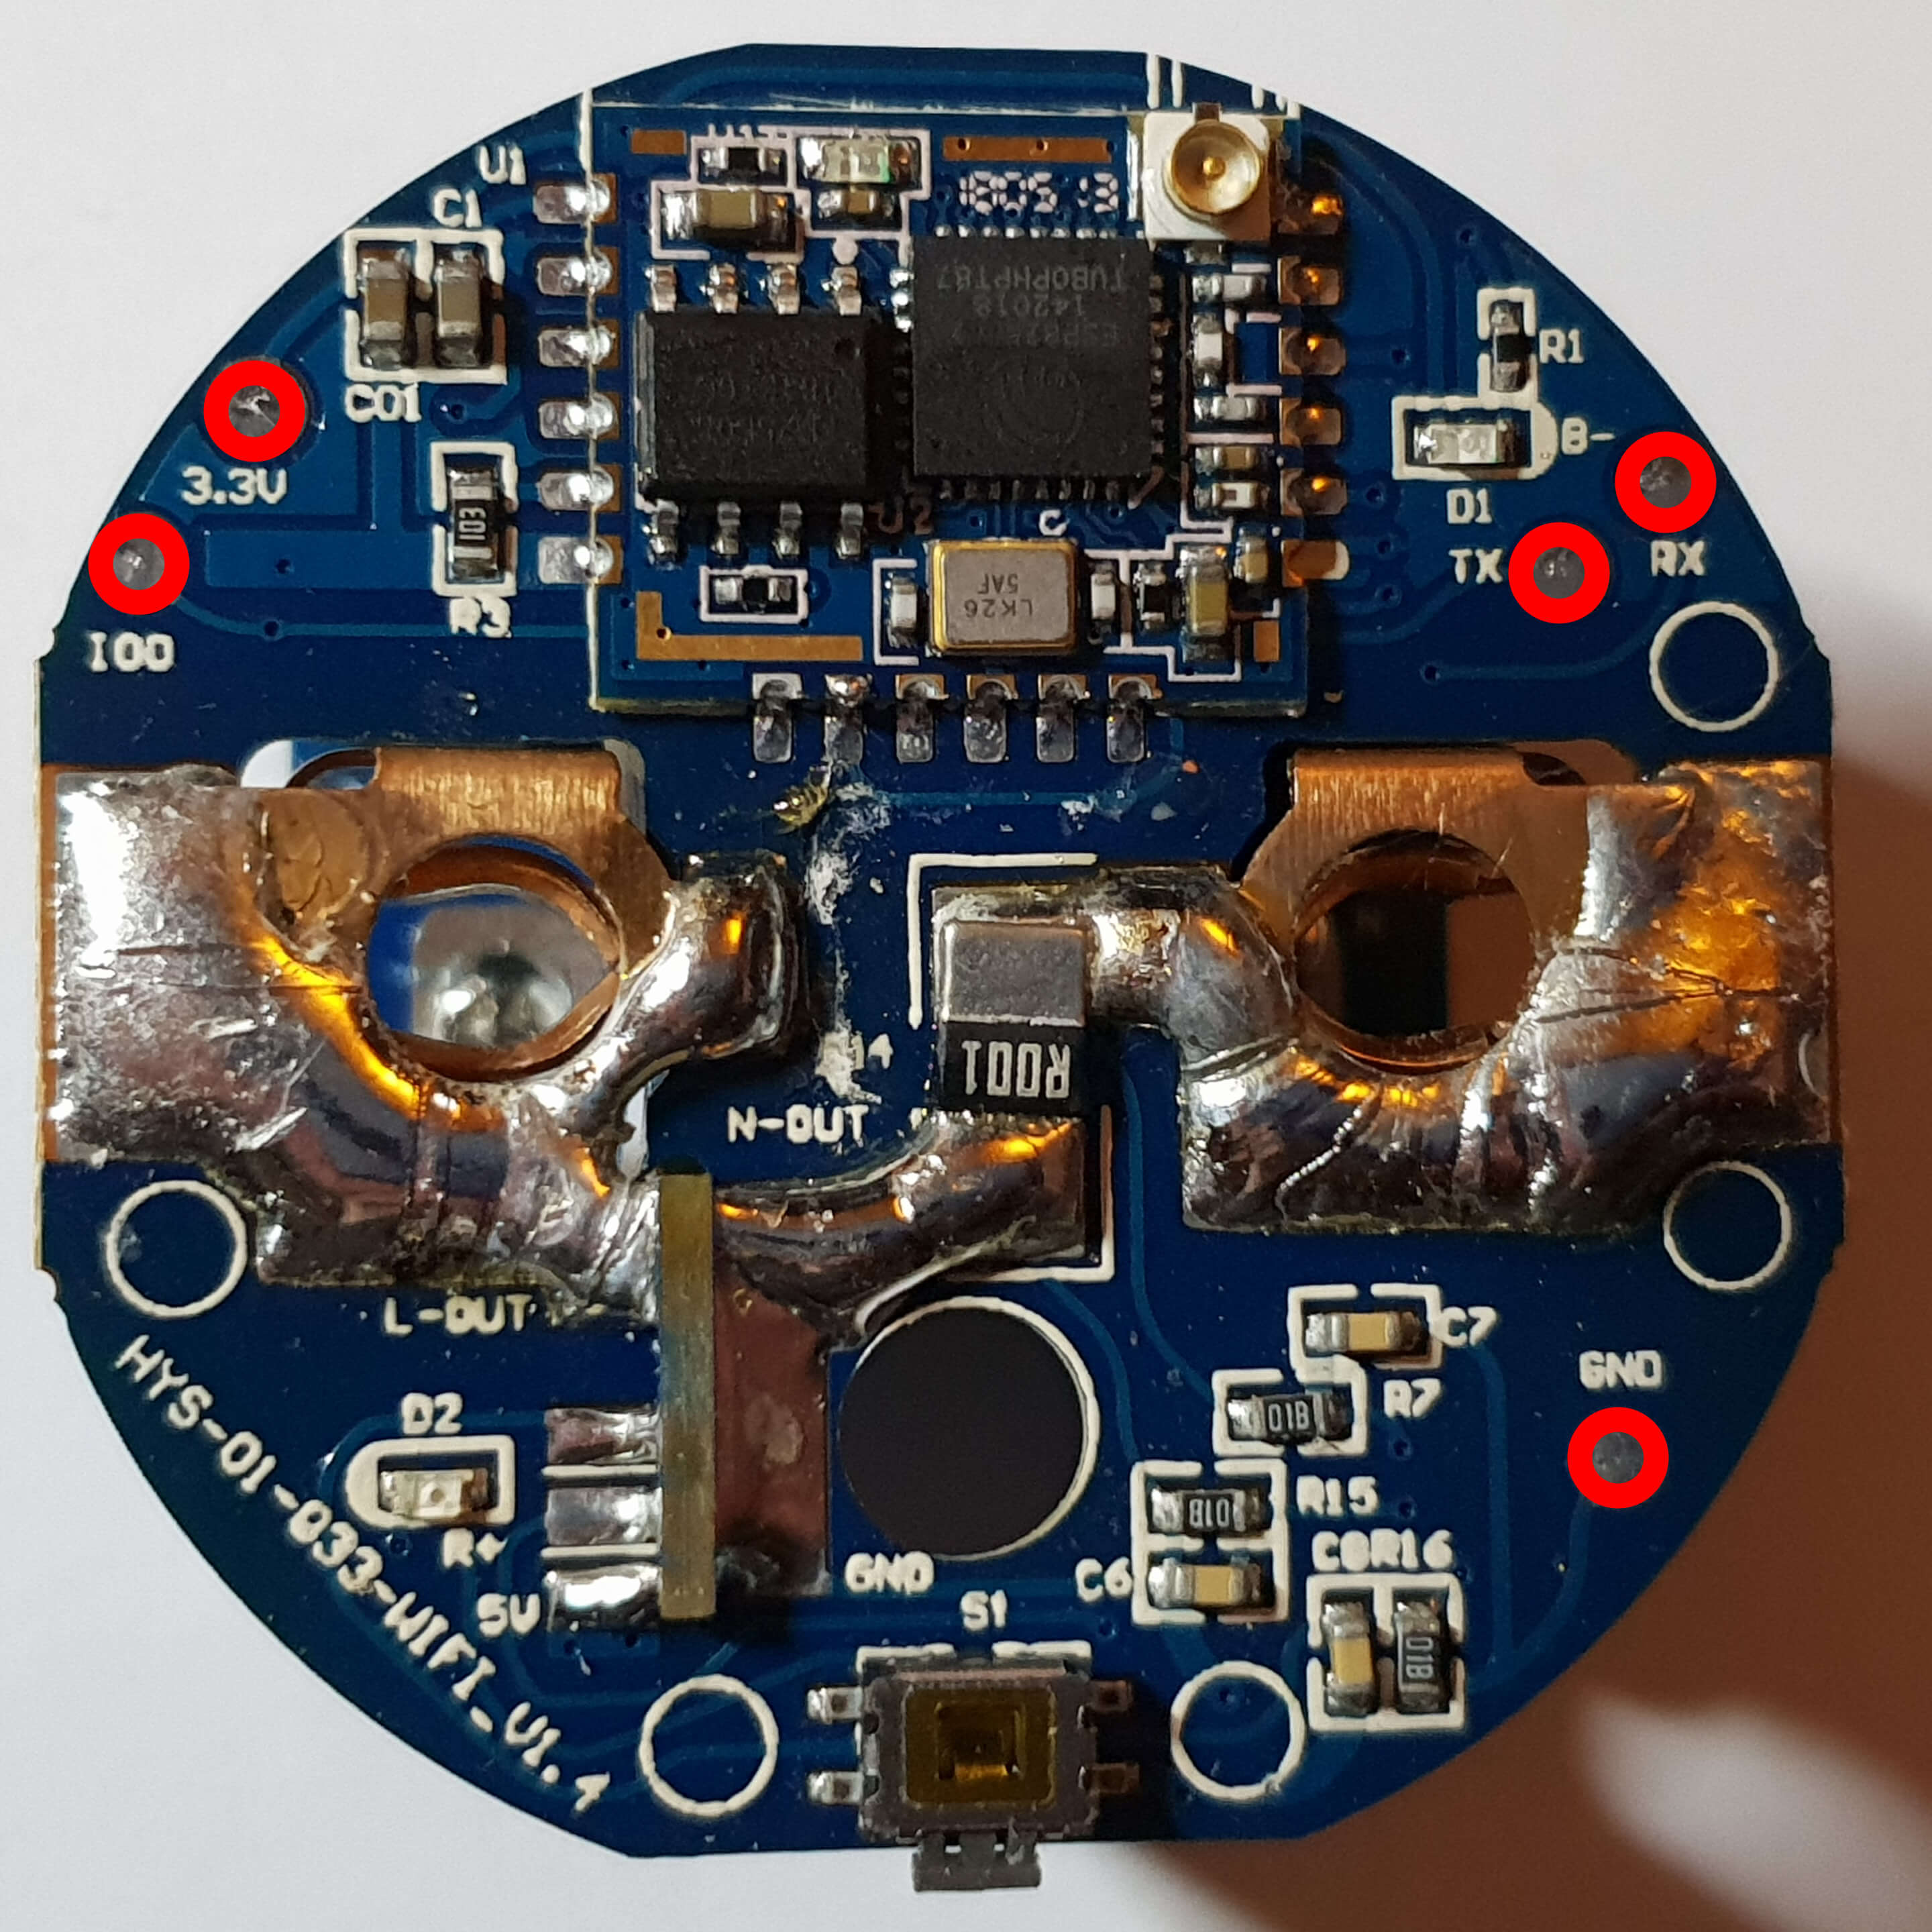
Solder cables to the ESP Pins.
If you do not want to solder you can try using crocodile clips and manually push a jumper cable first to IO0 (enter flash mode while booting, i.e. connect IO0 to ground) and then during flashing push a jumper to TX. Just be careful to not cause any short-circuit with the clips on the other side of the pads.
Step 6
Connect serial adapter and make a shortwire between Pin IO0 and GND during startup (for entering flashmode).
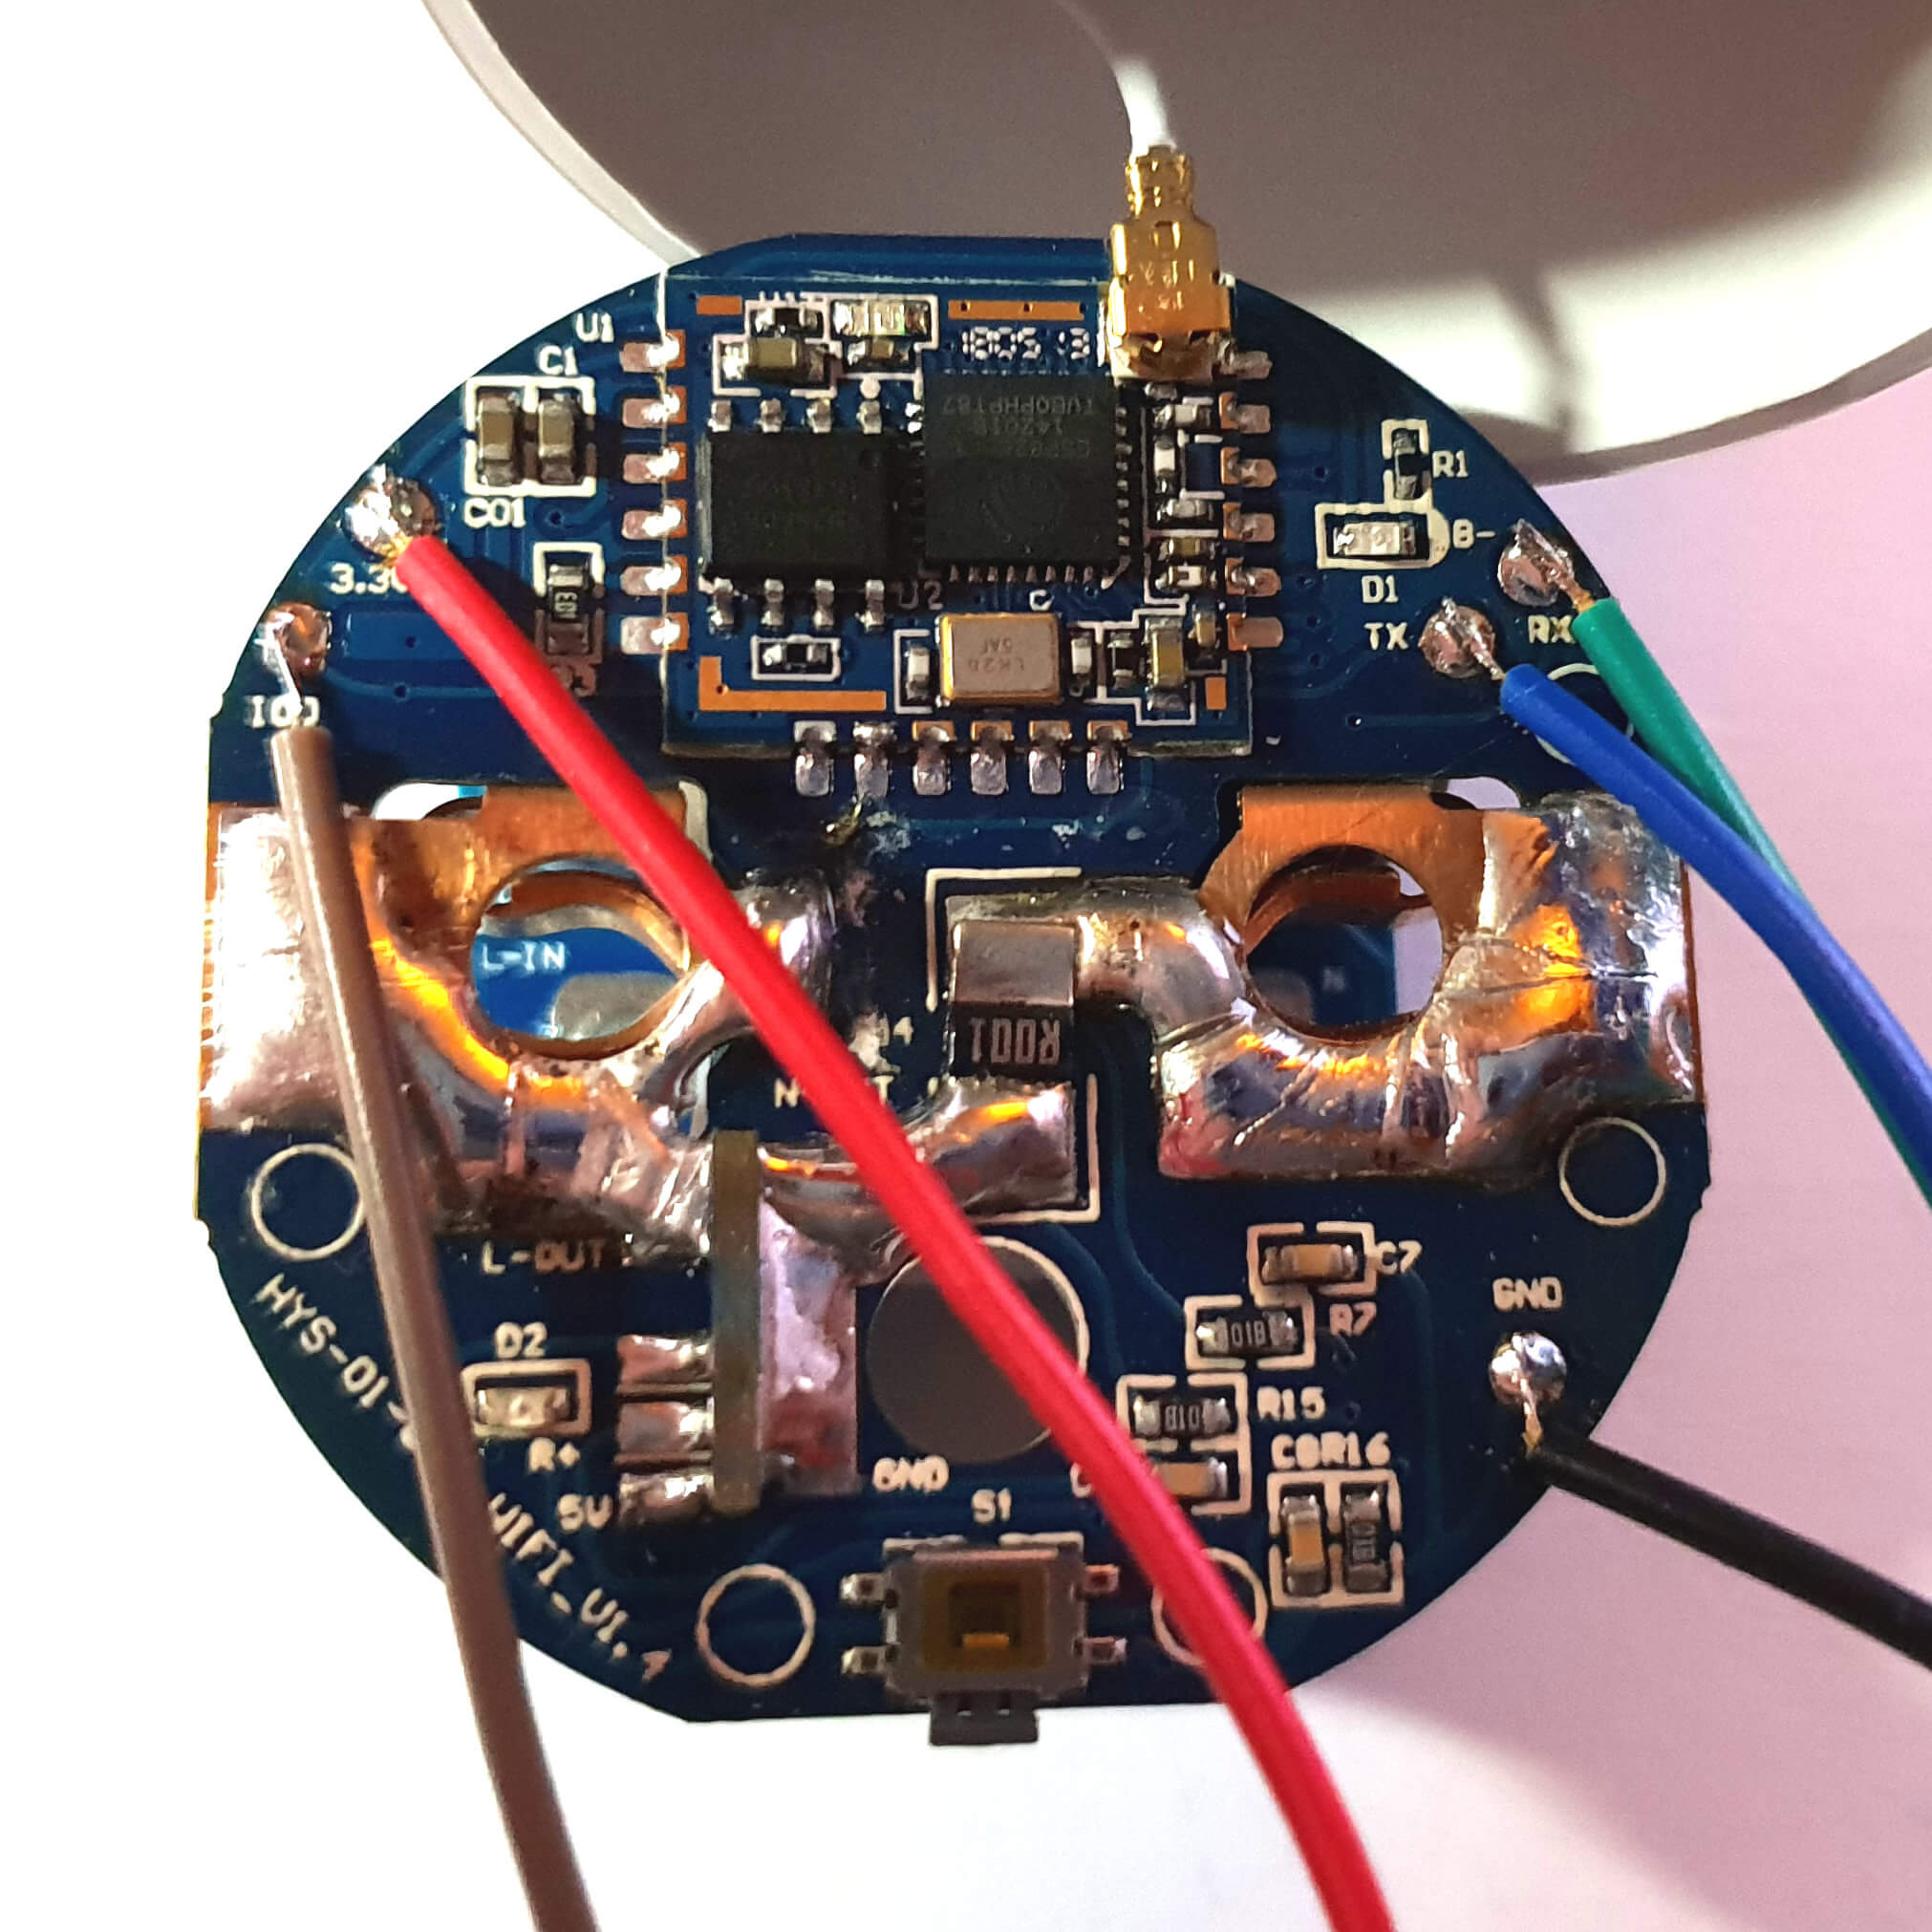
Step 7
Clear flash to avoid issues with dropping WiFi connection.
esptool.py --port COM3 erase_flash
Step 8
Flash Tasmota.
Step 9
Select the correct configuration under Configuration -> Configure Module
As an alternative for steps 2 to 5:
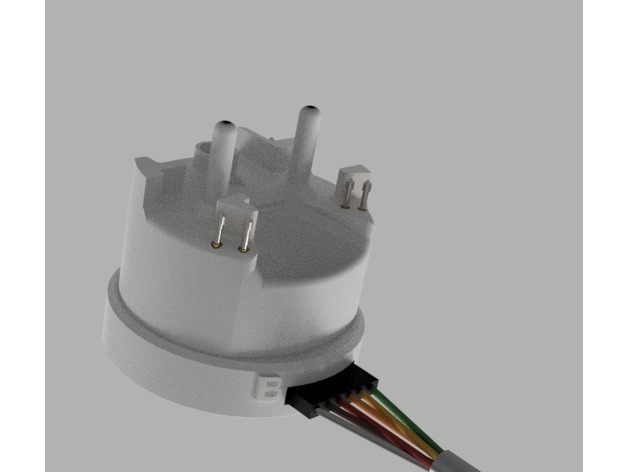
The following programming adapter could be an option, which requires no soldering or significant disassembly on the SHP-6.
It significantly reduces the effort of reflashing multiple SHP-6 units.
http://www.thingiverse.com/thing:3476167
Other photos
Template
https://blakadder.github.io/templates/blitzwolf_SHP6.html
https://blakadder.github.io/templates/gosund_SP111_v2.html Gosund SP111 with new PCB SP111_A_Wifi_Ver1.1
Calibration fine tuning
Approach the calibration using the Method 2. If not satisfied with the results, you could mod the SMD direct measure resistor or mitigate this using a Tasmota set of rules:
Rule1 ON energy#power<=100 DO Currentcal 2500 BREAK ON energy#power<=500 DO Currentcal 2635 BREAK ON energy#power<=1000 DO Currentcal 2788 BREAK ON energy#power<=1500 DO Currentcal 2942 BREAK ON energy#power<=2000 DO Currentcal 3095 BREAK ON energy#power<=2500 DO Currentcal 3249 BREAK ON energy#power>2500 DO Currentcal 3402 BREAK
Rule1 1
Take the CurrentCal values above as a first approach and should be corrected through the Tasmota Method 2 calibration procedure: https://github.com/arendst/Tasmota/wiki/Power-Monitoring-Calibration
Home Assistant configuration
switch:
  - platform: mqtt
    name: "Blitzwolf"
    state_topic: "stat/blitzwolf/POWER"
    command_topic: "cmnd/blitzwolf/POWER"
    payload_on: "ON"
    payload_off: "OFF"
    retain: false

sensor:
  - platform: mqtt
    name: "Blitzwolf Energy Today"
    state_topic: "tele/blitzwolf/SENSOR"
    value_template: '{{ value_json["ENERGY"]["Today"] }}'
    unit_of_measurement: "kWh"
  - platform: mqtt
    name: "Blitzwolf Energy Yesterday"
    state_topic: "tele/blitzwolf/SENSOR"
    value_template: '{{ value_json["ENERGY"]["Yesterday"] }}'
    unit_of_measurement: "kWh"
  - platform: mqtt
    name: "Blitzwolf Energy Total"
    state_topic: "tele/blitzwolf/SENSOR"
    value_template: '{{ value_json["ENERGY"]["Total"] }}'
    unit_of_measurement: "kWh"
  - platform: mqtt
    name: "Blitzwolf Power"
    state_topic: "tele/blitzwolf/SENSOR"
    value_template: '{{ value_json["ENERGY"]["Power"] }}'
    unit_of_measurement: "W"
  - platform: mqtt
    name: "Blitzwolf Voltage"
    state_topic: "tele/blitzwolf/SENSOR"
    value_template: '{{ value_json["ENERGY"]["Voltage"] }}'
    unit_of_measurement: "V"
  - platform: mqtt
    name: "Blitzwolf Power Factor"
    state_topic: "tele/blitzwolf/SENSOR"
    value_template: '{{ value_json["ENERGY"]["Factor"] }}'
Wiki has moved to link on the left.
