Where to buy
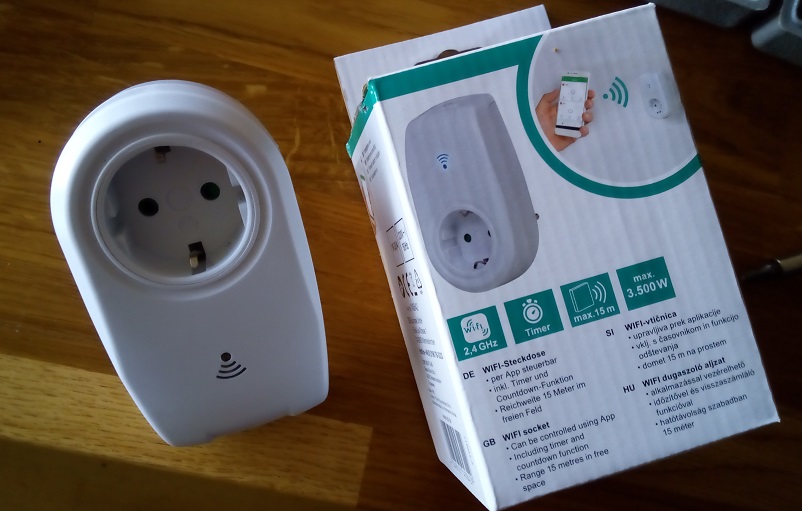
As shown in the name the Wifi Socket is only available in the OBI Diy-Warehouse. It can also be bought in the OBI online-store
Open the socket
Opening the socket is kind of difficult. If you have one of the Tri-Wing screwdrivers it is much more easier. If you haven't got use a normal head screwdriver. Be careful not damaging your hand with it.
Tipp: Afterwards use normal cross screws to close the casing.
Connection
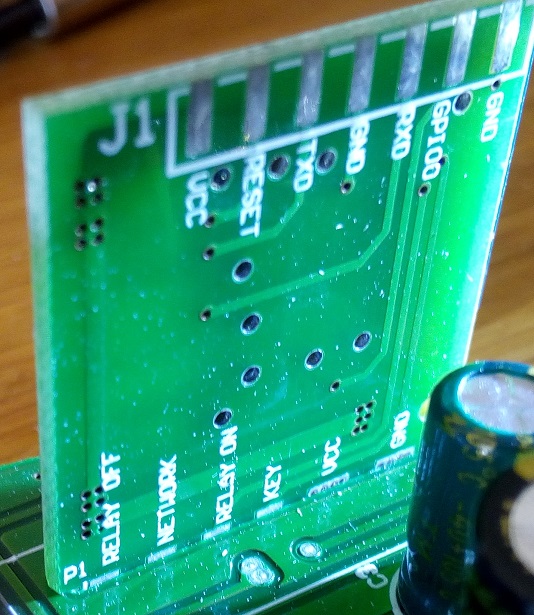
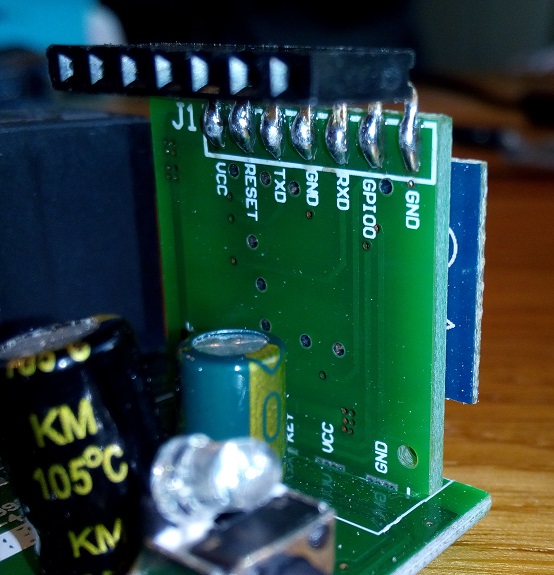
| ESP | Programmer |
|---|---|
| VCC | 3V3 |
| TX | RX |
| RX | TX |
| GND | GND |
Connect GPIO0 to GND before connecting power to enable flash mode!
Additional Information
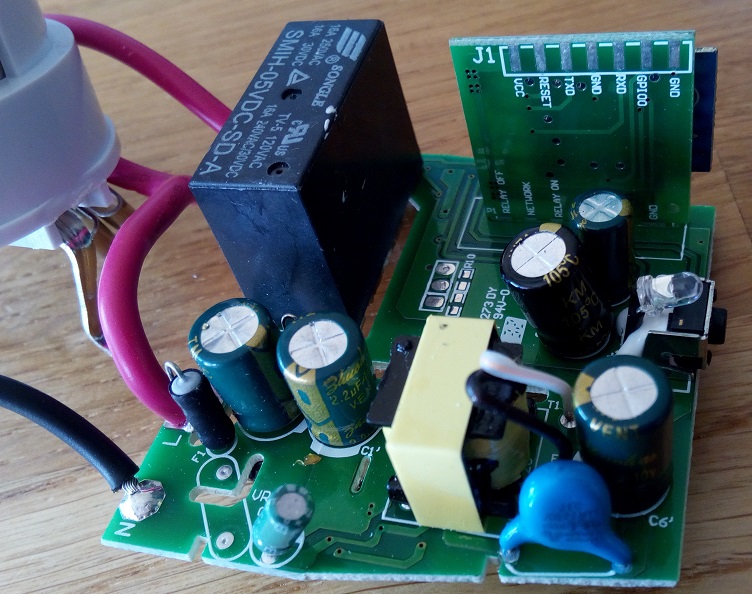
A low pulse on GPIO12 switches the relay on, a low pulse on GPIO5 switches it off.
I have solved the 'pulse issue' by setting GPIO12 to always 0 (as LED) and works fine.
More Infos can be found here: #1988.
Initial Configuration
In the default configuration GPIO0 (which is also used to enable flash-mode) is setup as a Button.
To enable AP-Mode and setup the correct GPIOs as described below,
You can short GPIO0 to GND 4 times as if it was a button (see Button-usage)
Using this method allows you to flash a precompiled binary
Device Images
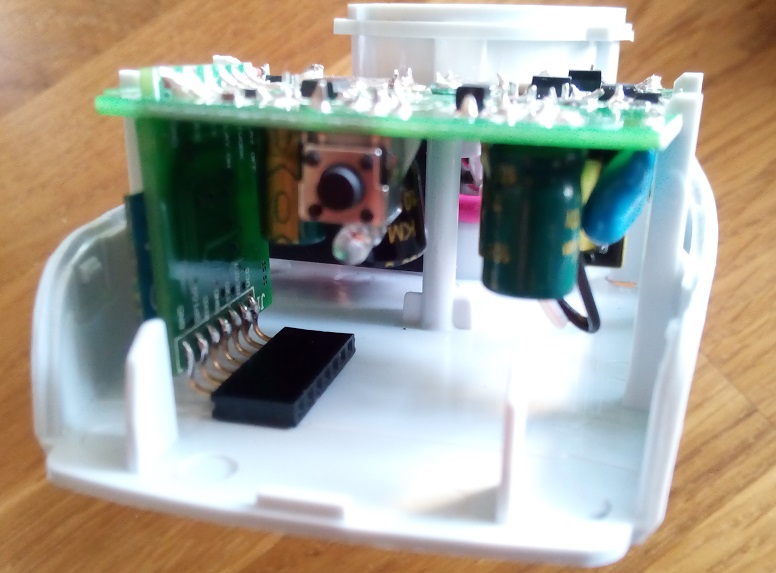
(images from https://github.com/martin-ger/ESP8266-WiFi-Socket)
GPIO Config
UPDATE: with Tasmota 6.3.0 you have fully monitoring support (Add support for OBI Power Socket (#1988, #3944))
** Beginning 6.3.0, no need to choose type 18 anymore, use type 51 Obi Socket ***

Wiki has moved to link on the left.