DHT11 is a basic, ultra low-cost digital temperature and humidity sensor. It is very inaccurate and surpassed by others (AM2301, BME280, ...) thus not recommended by us.
Configuration
Wiring
| DHT11 | ESP266 |
|---|---|
| - | GND |
| OUT | GPIOx |
| + | 3.3V |
Tasmota
In the Configuration -> Configure Module page assign:
- GPIOx to
DHT11 (1)
After reboot of the device the temperature and humidity are displayed.
Commands
TempOffset can be used for calibrating the measured temperature. This setting affects all temperature sensors on the device.
Wemos DHT11 Shield
Note: this is ONLY for v1.0.0 of the DHT11 shield, since v2.0.0 uses I2C and pinned differently.

From the Wemos DHT11 shield specs the DATA OUT pin is connected to D4 of the Wemos.


Note: Having the shield compact on top of the processor increases the temperature. In normal Mode this can be up to 6°C. So you should add sleep mode. Adding normal "Sleep 100" and putting the sensor vertically reduces the temperature difference to 2°C
Sonoff Basic specific
To wire a DHT11 up to a Sonoff Basic, I first soldered a pin header to the main pin header row. For the location see GPIO Locations.
I decided to use regular 2.54mm connectors (often referred to as Dupont connectors), so that I can switch sensors if I have to. In order to fit the dupont cables within the enclosure, I had to bend the 2.54mm pin headers by about 45°.
As the DHT11 requires a pullup (depending on the cable length), and I didn't want to design a PCB just to connect 3 wires and a resistor, I came up with the solution described below.

First, I slipped ferrules over the DHT11 pins and inserted the wires. This makes it a lot easier to hold the cables and the DHT11 pins in place.
I left a bit more wire exposed so that I have a place to apply solder without burning the wire insulation. I applied heat to the ferrule, not the wire, and applied solder directly at the end of the ferrule.
Solder will then flow into the ferrule.

I also added a small solder blob (visible on the top ferrule) so that I can solder an 0805 resistor in place. Thanks to the ferrule, the wires won't become detached when heated again. Keep in mind that the ferrule has quite some heat capacity, so wait for the solder to cool down prior moving the wires or the sensor.

I then did shrink the 2:1 green heatshrink tubes so that the contacts don't touch each other.
Also, it is so very handy to have 4:1 shrinking tube. An 8mm 4:1 tube fits perfectly over the pins, and fully encloses the 3 wires.
Get 4:1 heatshrink tube. It's so worth it.
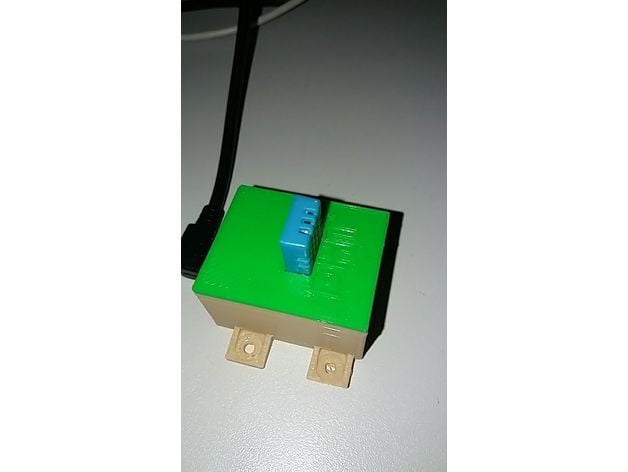
Here's how the finished project looks like:

OpenHab
sonoff.items:
 // DHT-6
 Number DHT6_Temp "Bathroom DHT-6 [%.1f °C]"
            <temperature>          (gTemperature,gTemperatureRoom)
            { mqtt="<[broker:tele/sonoff-dht-6/SENSOR:state:JSONPATH($.DHT11.Temperature)]" }
 Number DHT6_Humidity "Bathroom DHT-6 [%.1f %%]"
            <humidity>             (gHumidity)
            { mqtt="<[broker:tele/sonoff-dht-6/SENSOR:state:JSONPATH($.DHT11.Humidity)]" }
 Switch DHT6_Reachable "DHT-6 reachable"
            <contact>              (gReachable)
            { mqtt="<[broker:tele/sonoff-dht-6/LWT:state:MAP(reachable.map)]" }
 Number DHT6_RSSI "DHT-6 RSSI [%d %%]"
            <qualityofservice>     (gRSSI)
            { mqtt="<[broker:tele/sonoff-dht-6/STATE:state:JSONPATH($.Wifi.RSSI)]" }
sonoff.sitemap
 Frame {
              Text item=DHT6_Temp  labelcolor=[DHT6_Reachable == "ON" = "green",DHT6_Reachable == "OFF" = "red"] {
                   Text item=DHT6_Temp
                   Text item=DHT6_Humidity
                   Text item=DHT6_Reachable
                   Text item=DHT6_RSSI
                   }
        }